Developer Portal Quickstart Guide
Accessing the NexHealth Developer Portal
You can log into the developer portal by visiting https://developers.nexhealth.com/ and entering your email and password.
If you sign in to the NexHealth Patient Experience platform with the same email as your developer account, you can use app.nexhealth.com for the Patient Experience platform and developers.nexhealth.com for the developer portal.
Home Page
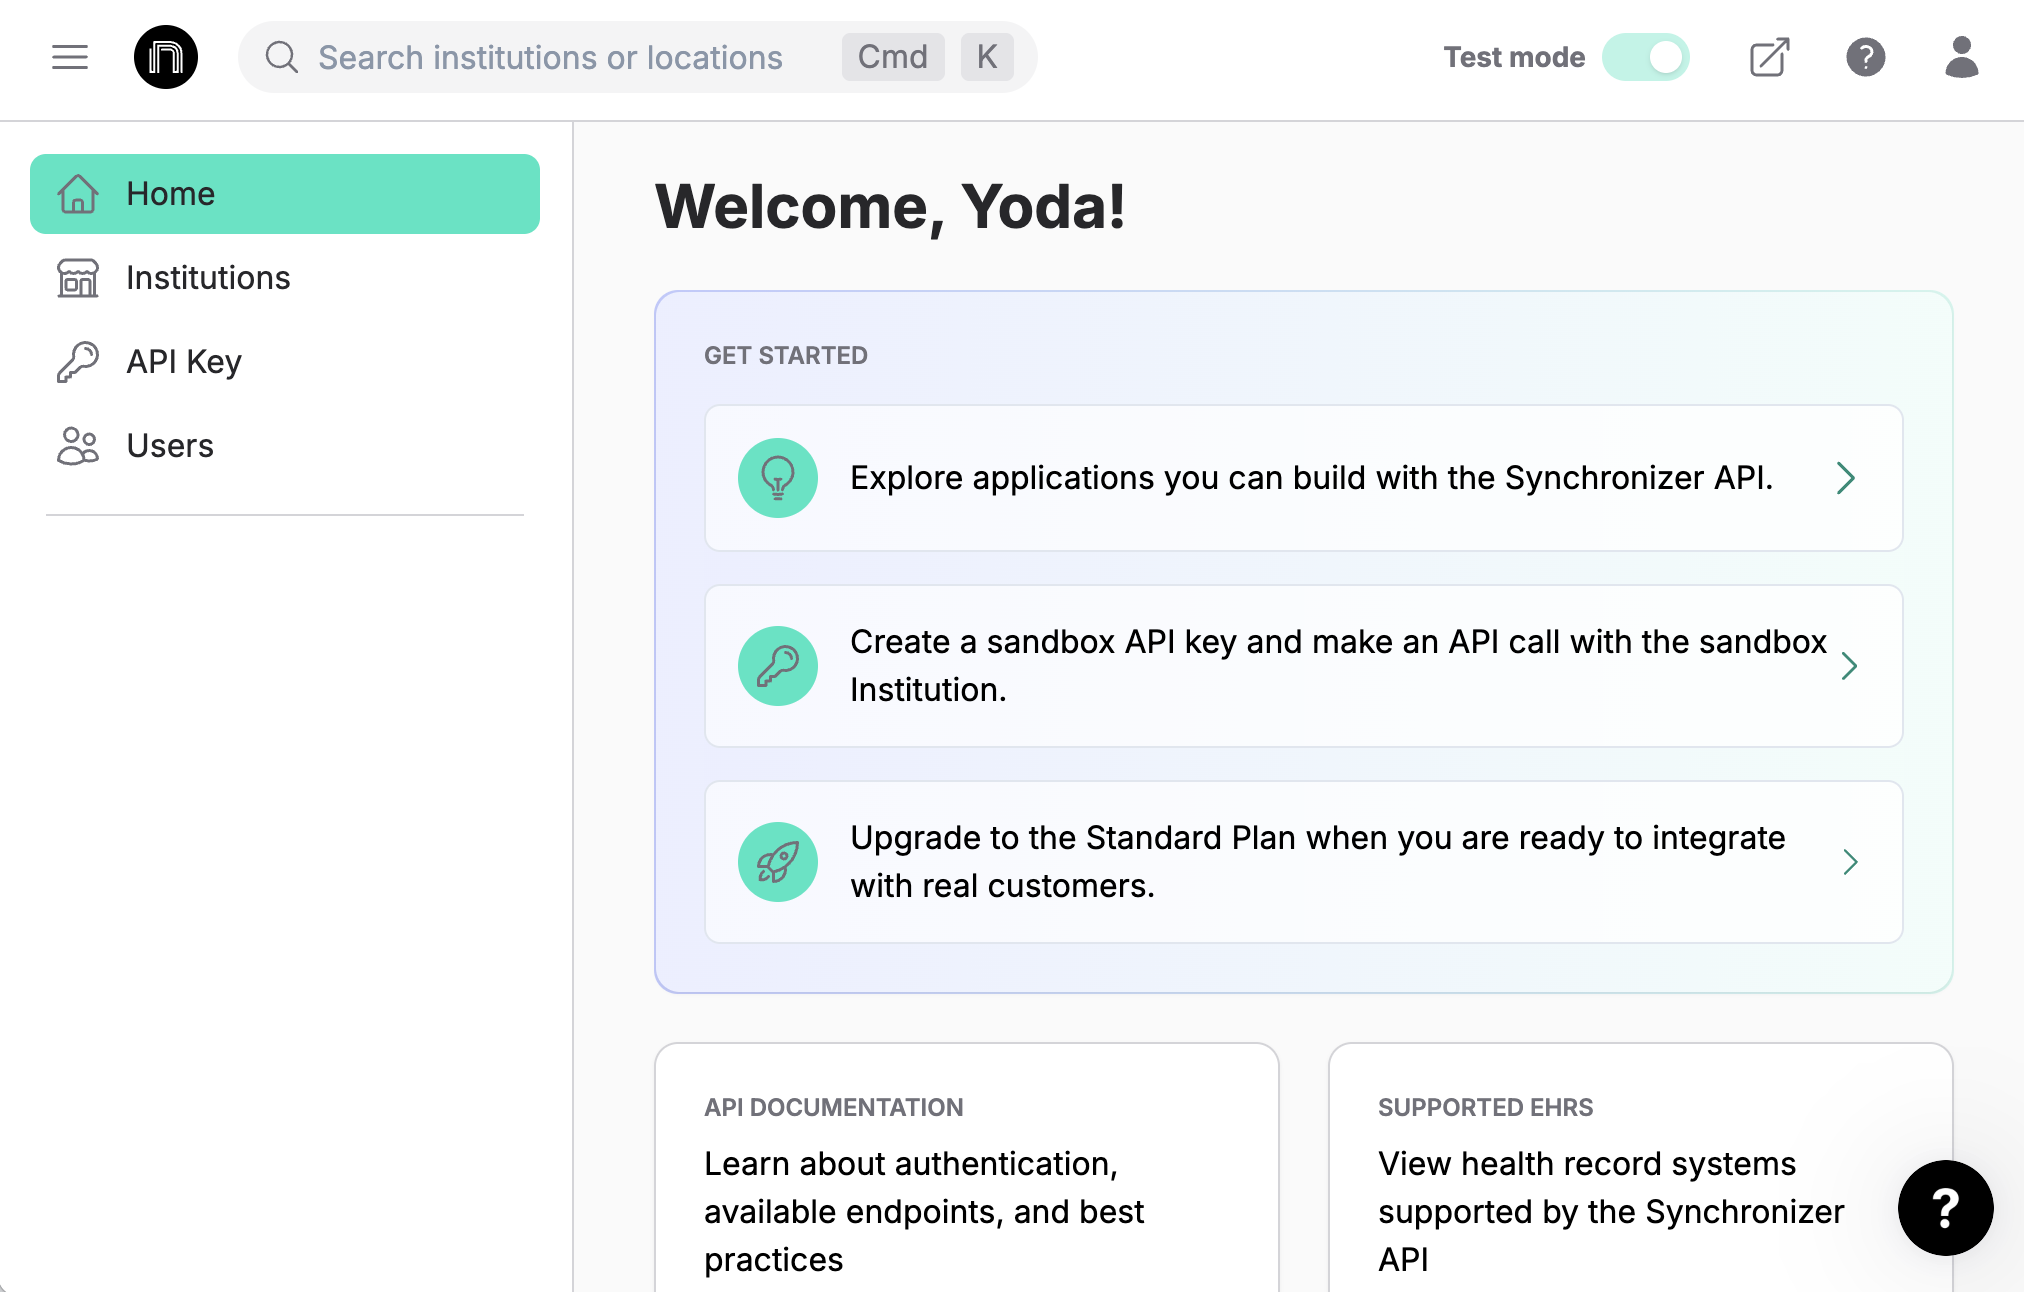
Upon logging in to the developer portal, you will be greeted by the home page with instructions on how to get started.
Institutions Page
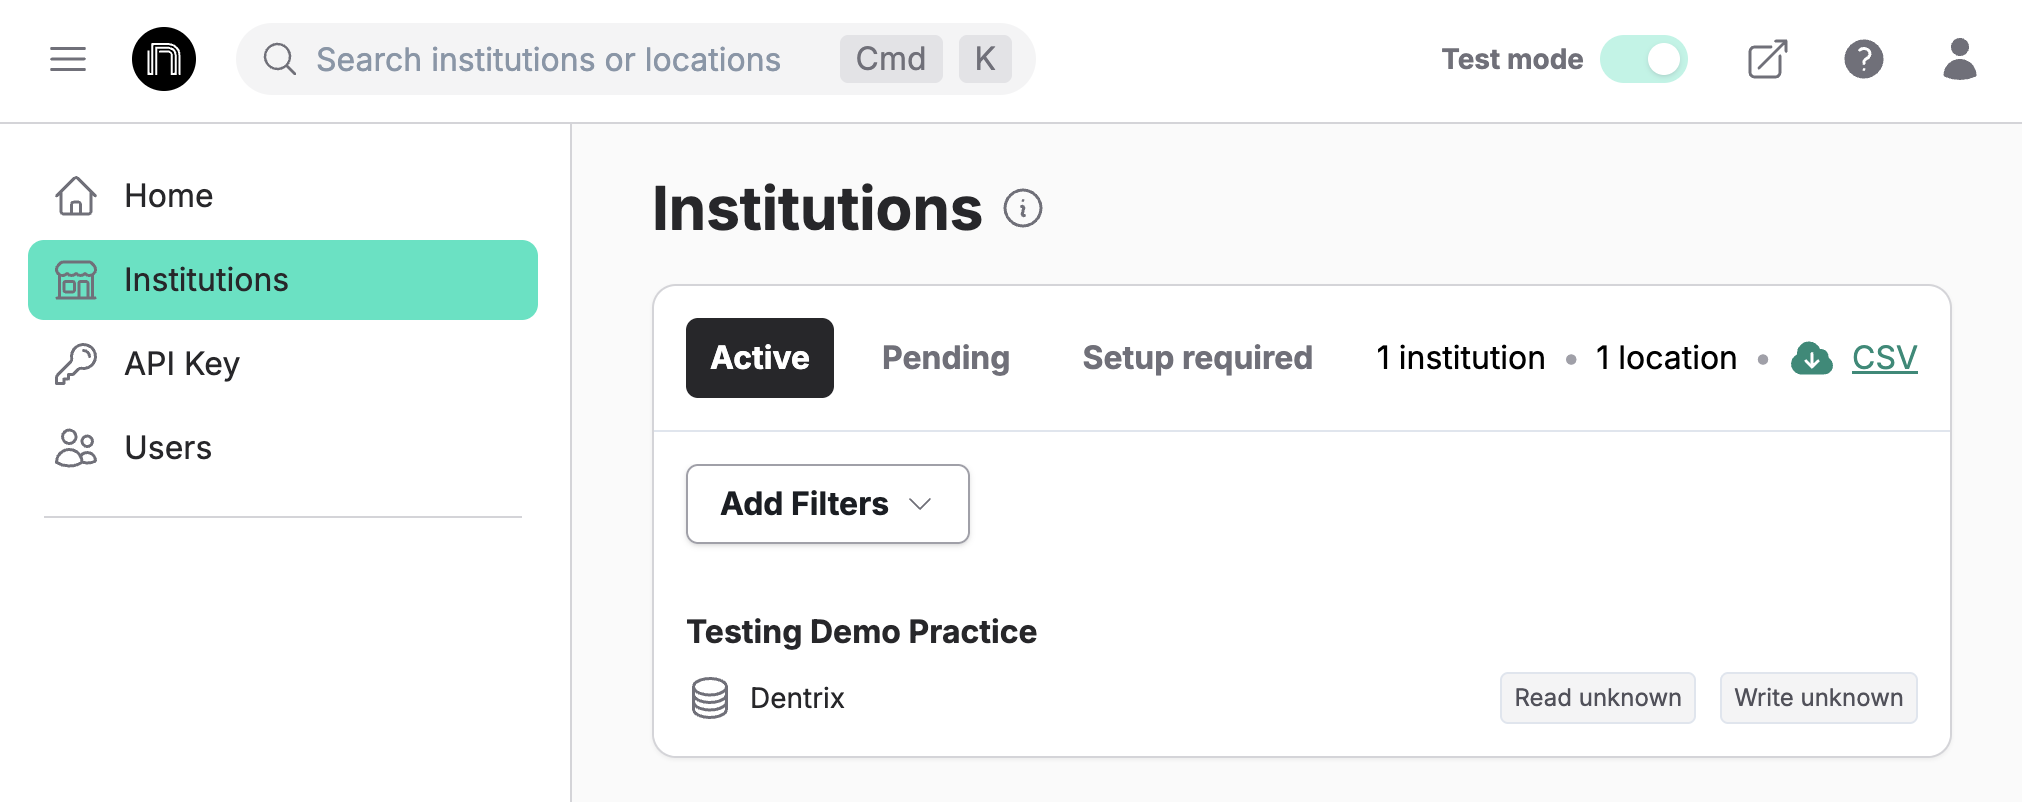
The Institutions page will display the customer accounts that have been added to your organization for accessing via the API. When first signing up, NexHealth will create a demo customer account for you to test with. The name of this demo customer account will be your organization name appended with "Demo Practice".
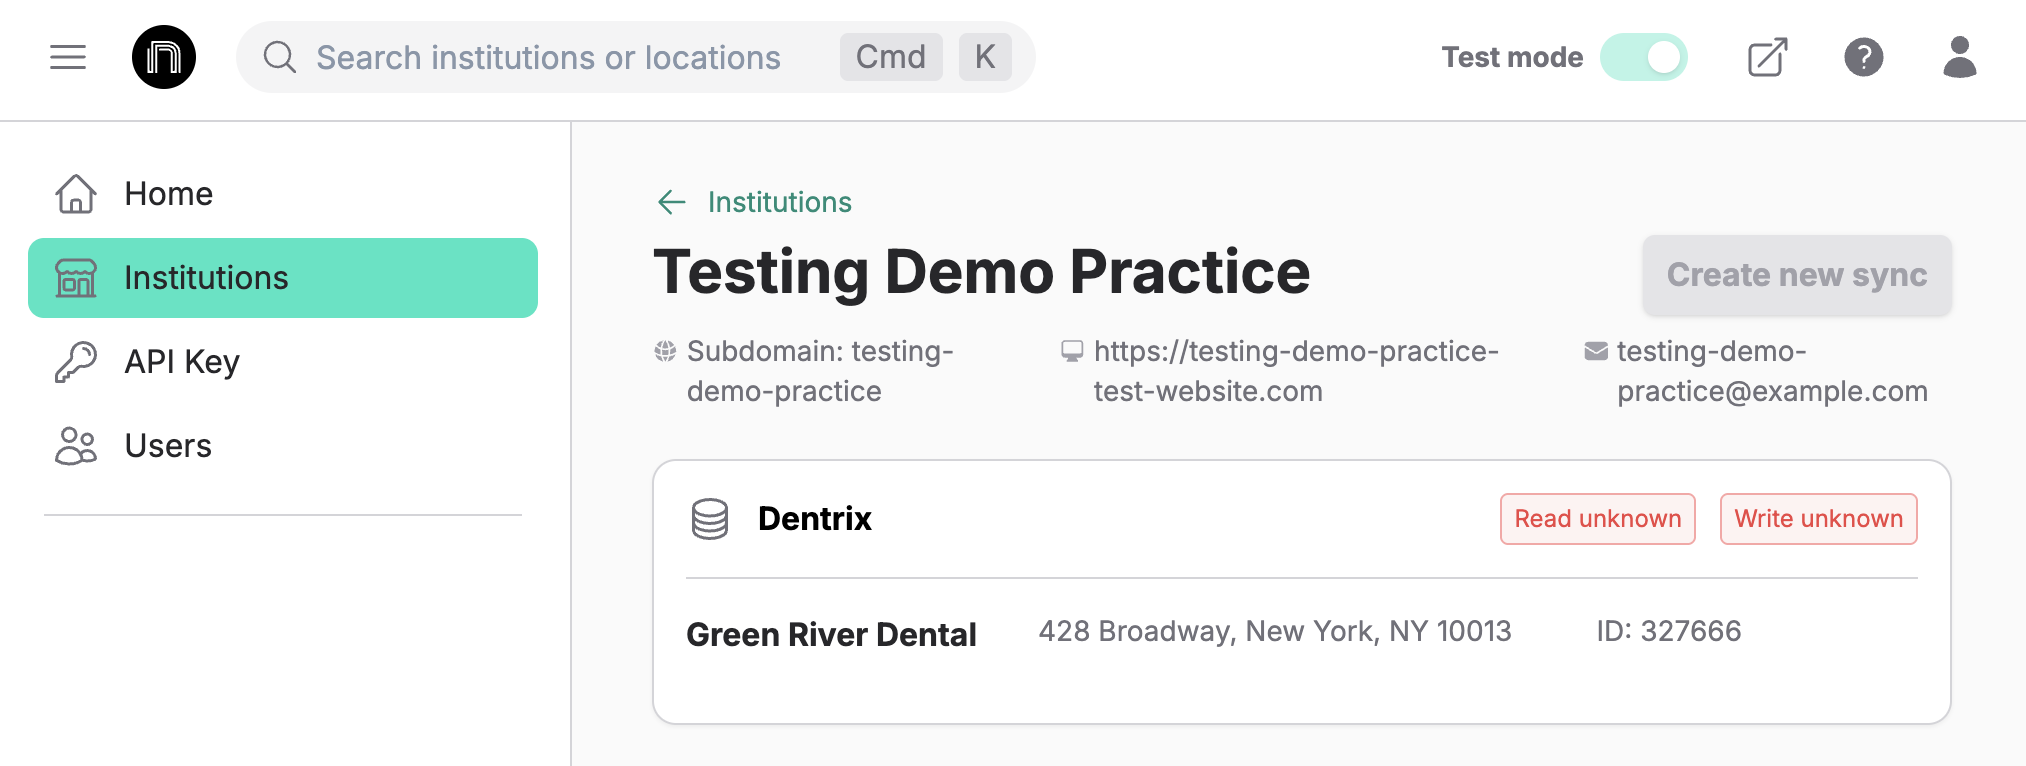
Clicking on the name of an institution will show you more details about the institution and display a list of the locations within the institution. This page will help you obtain crucial information needed when making your first API calls. You will also be able to create new Synchronizer installations for this institution by clicking the "Create new sync" button in the top-right corner.
API Key Page
This page is only visible to administrators.
Each developer organization can have one sandbox API key and one production API key. If you have just signed up, you will need to generate your sandbox API key by clicking the "Create sandbox API key" button.
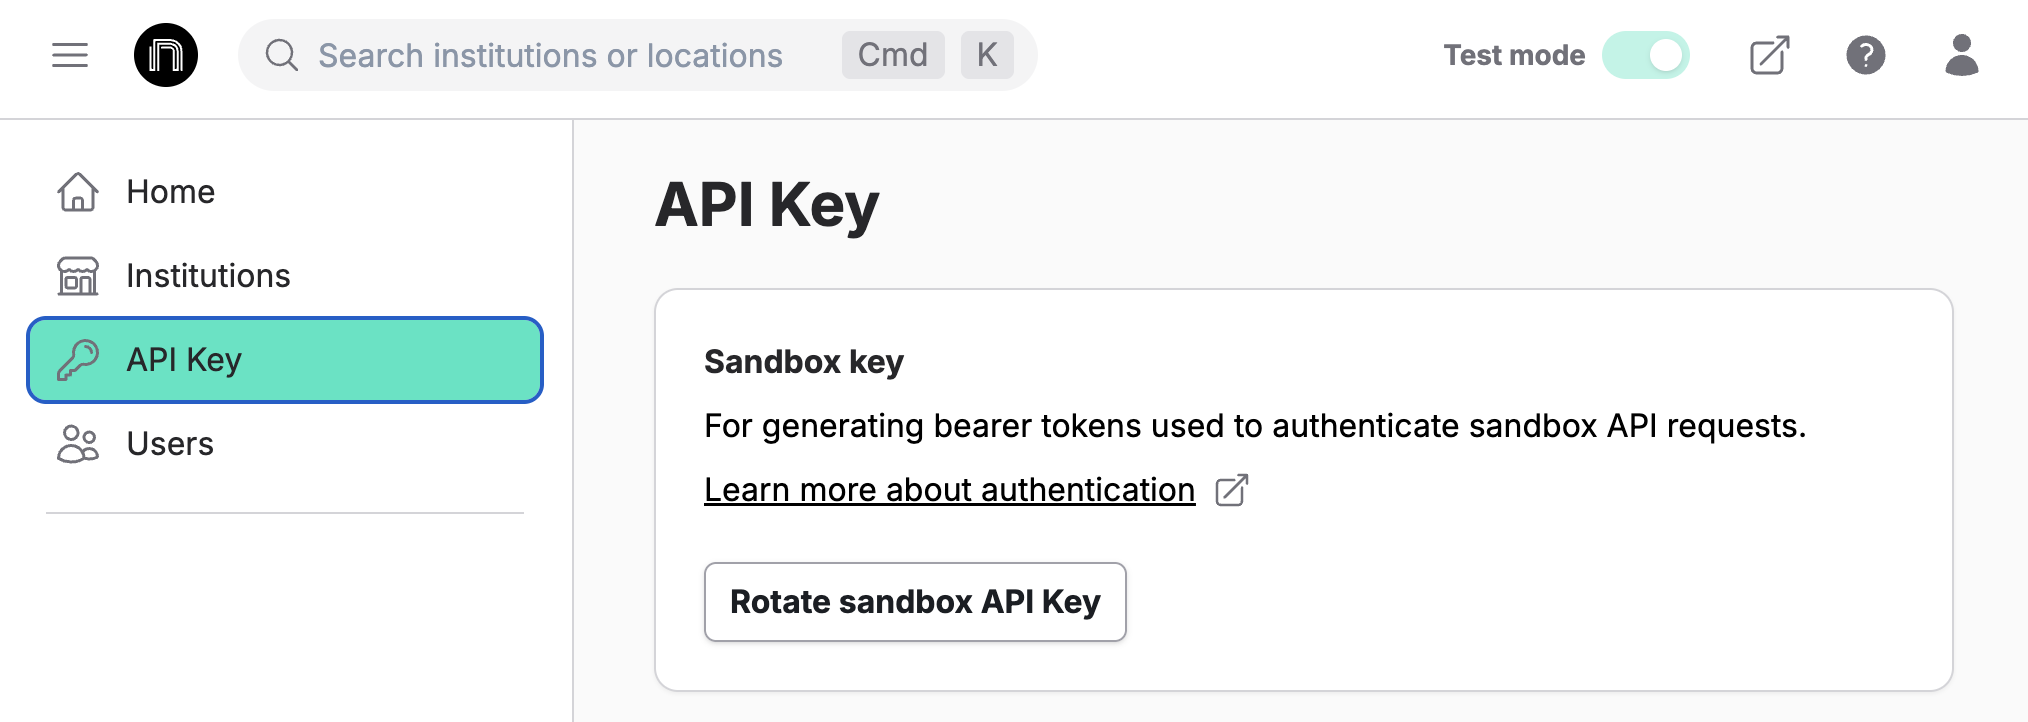
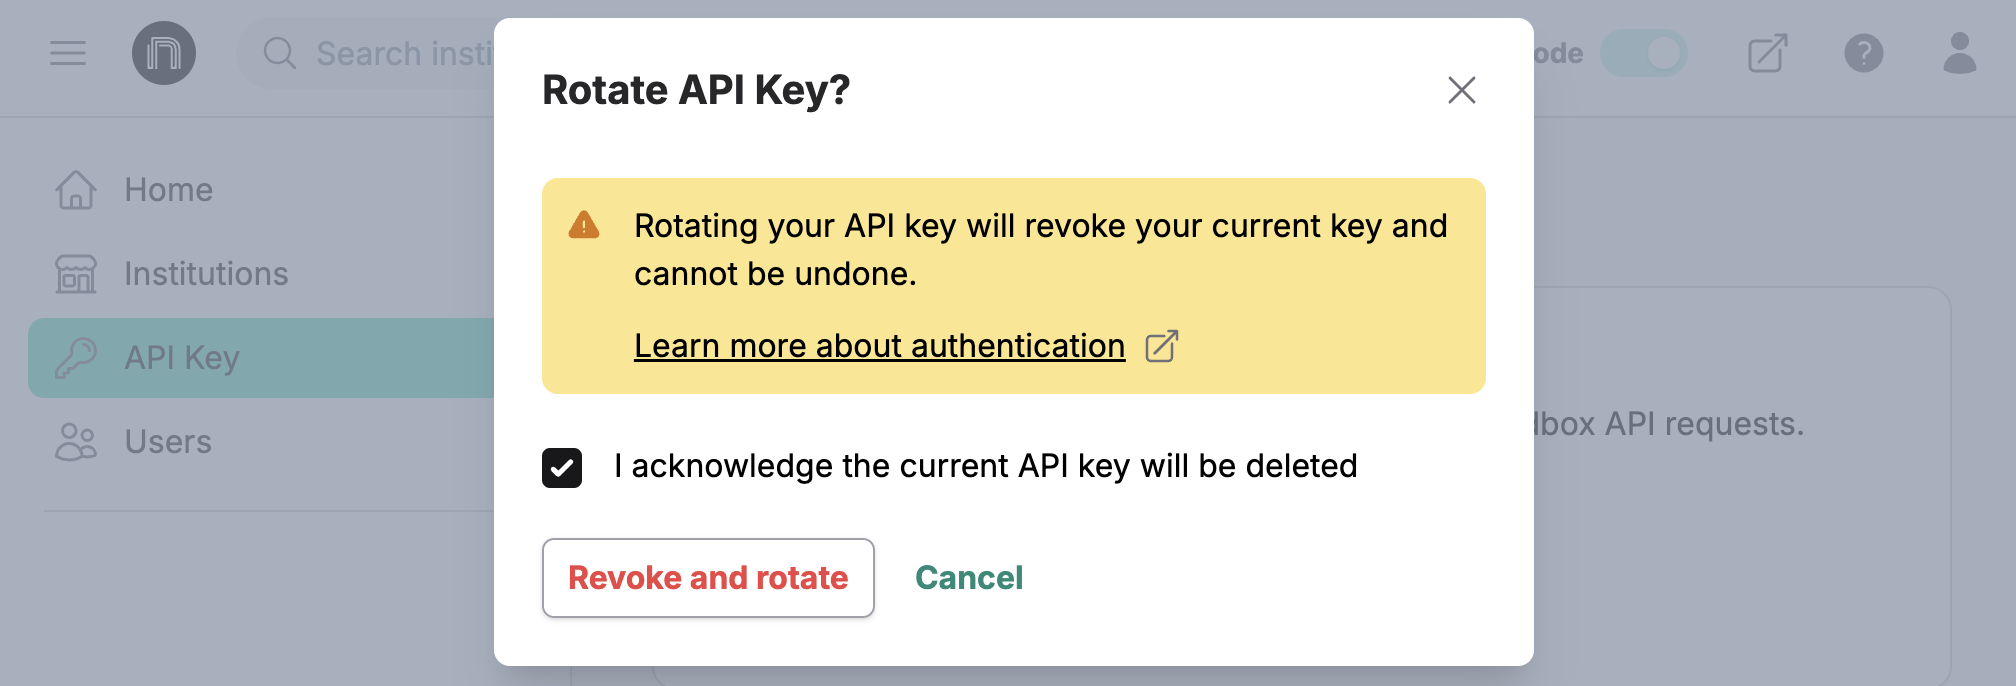
Your sandbox API key will be displayed after it is generated. Make sure to save it somewhere safe, as you will not be able to see it again once you close the page! If needed, you can always rotate your API key afterward.
Users Page
This page is only visible to administrators.
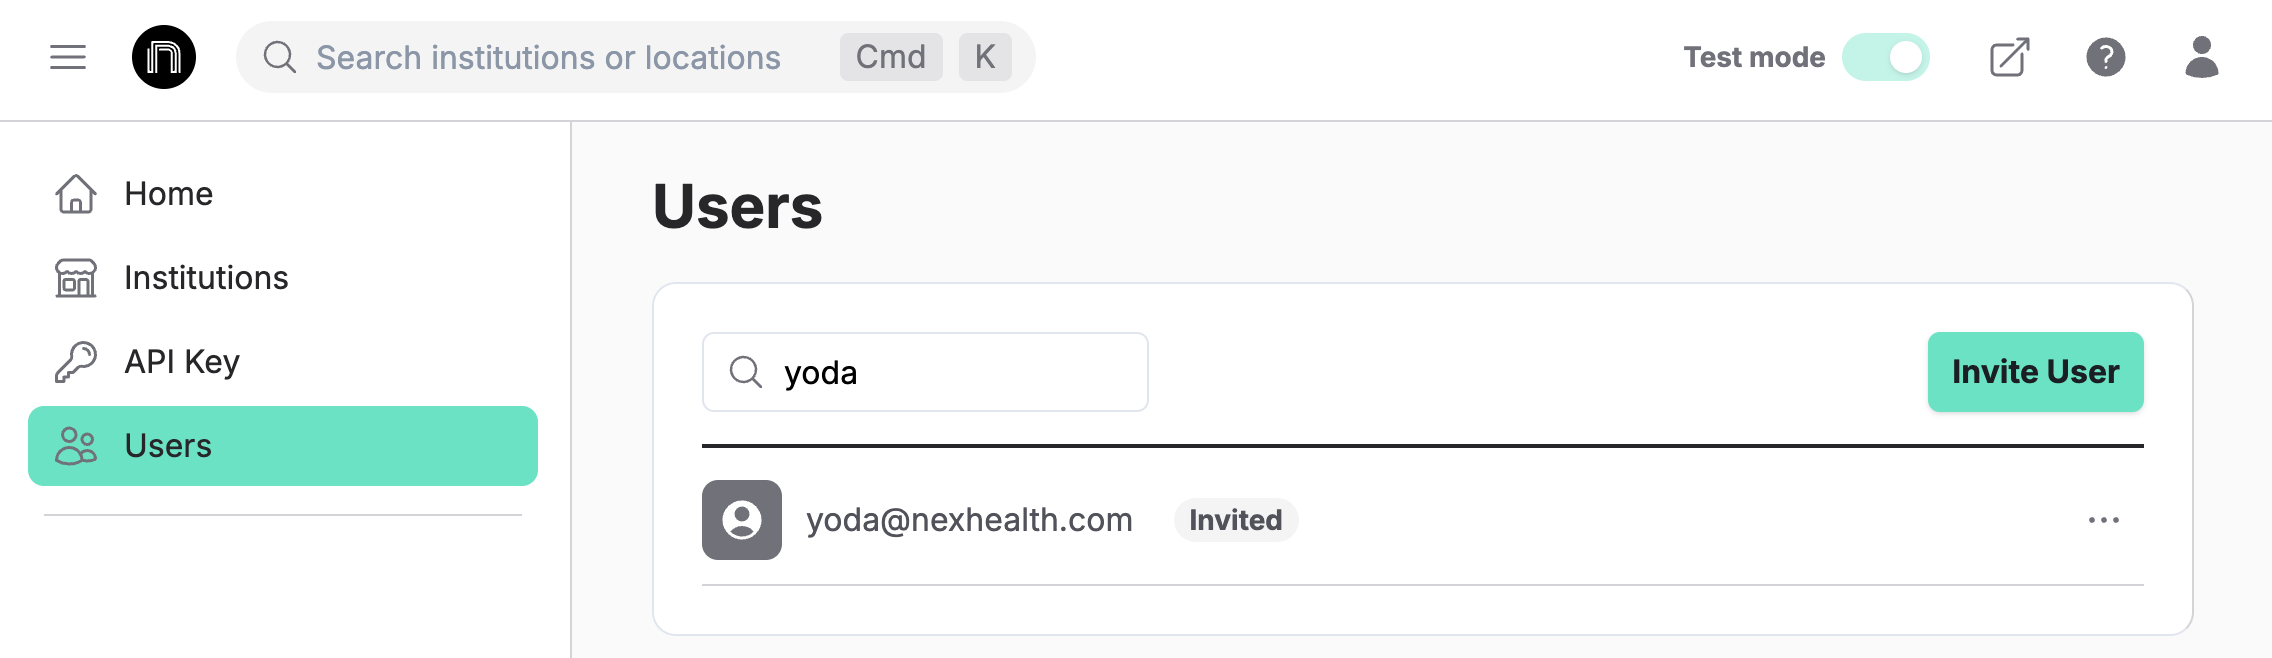
You can view and manage all users within your organization from this page. Upon visiting the page, you will see a list of all active users and whether or not they are an administrator. You will also see invited users and an option to invite new users.
Inviting Users
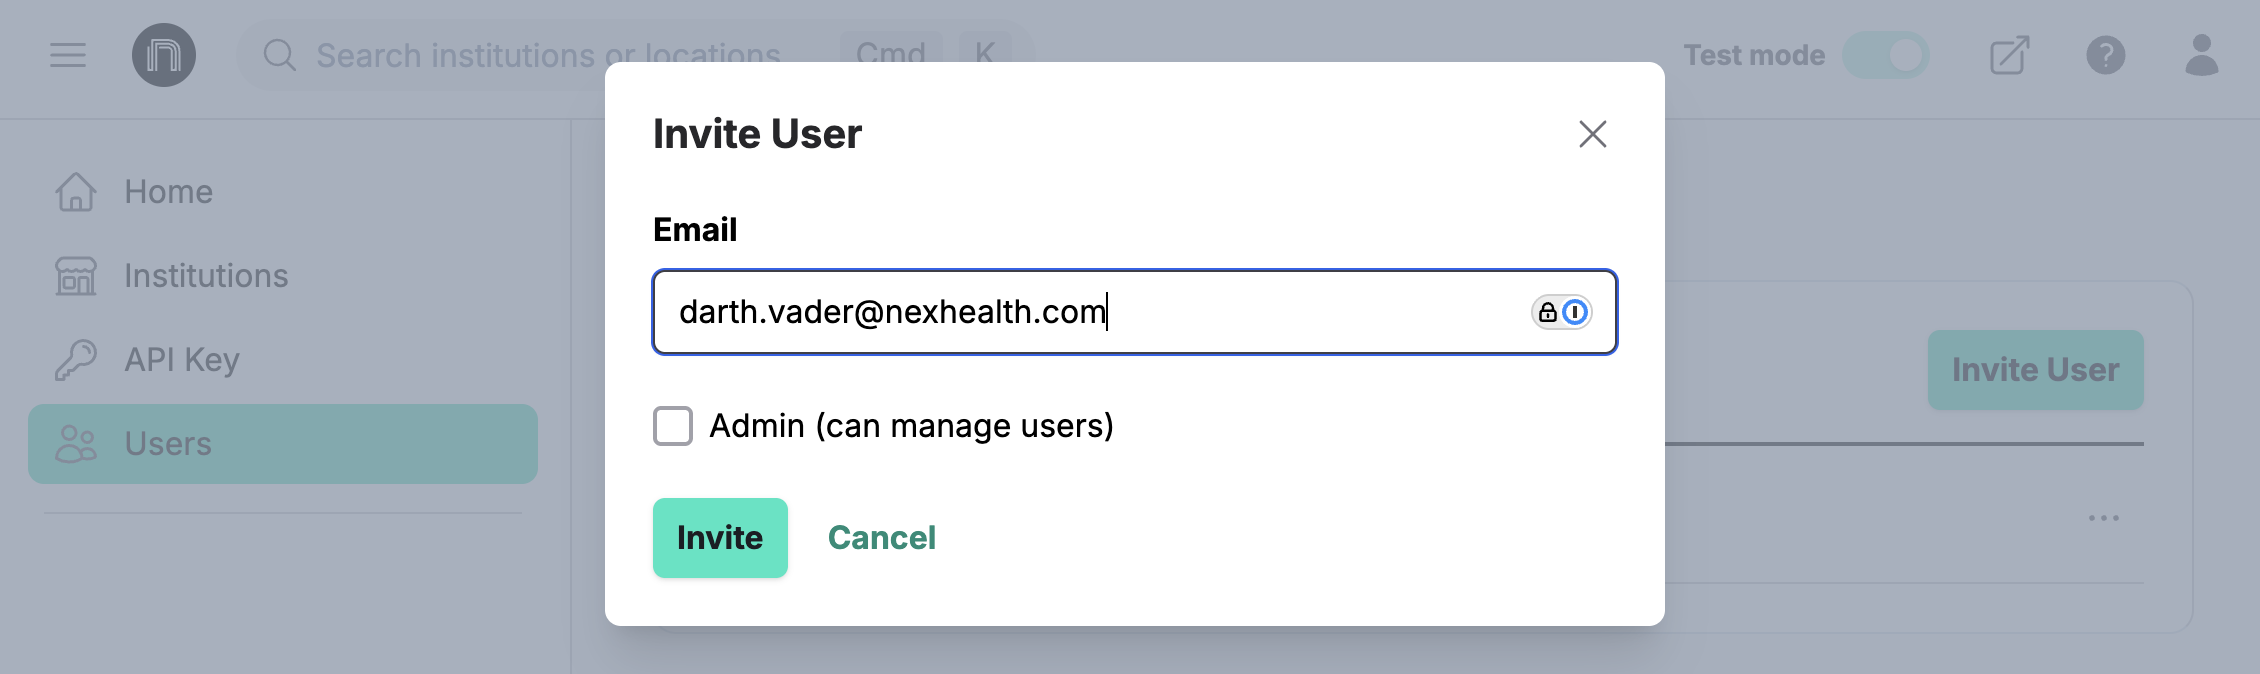
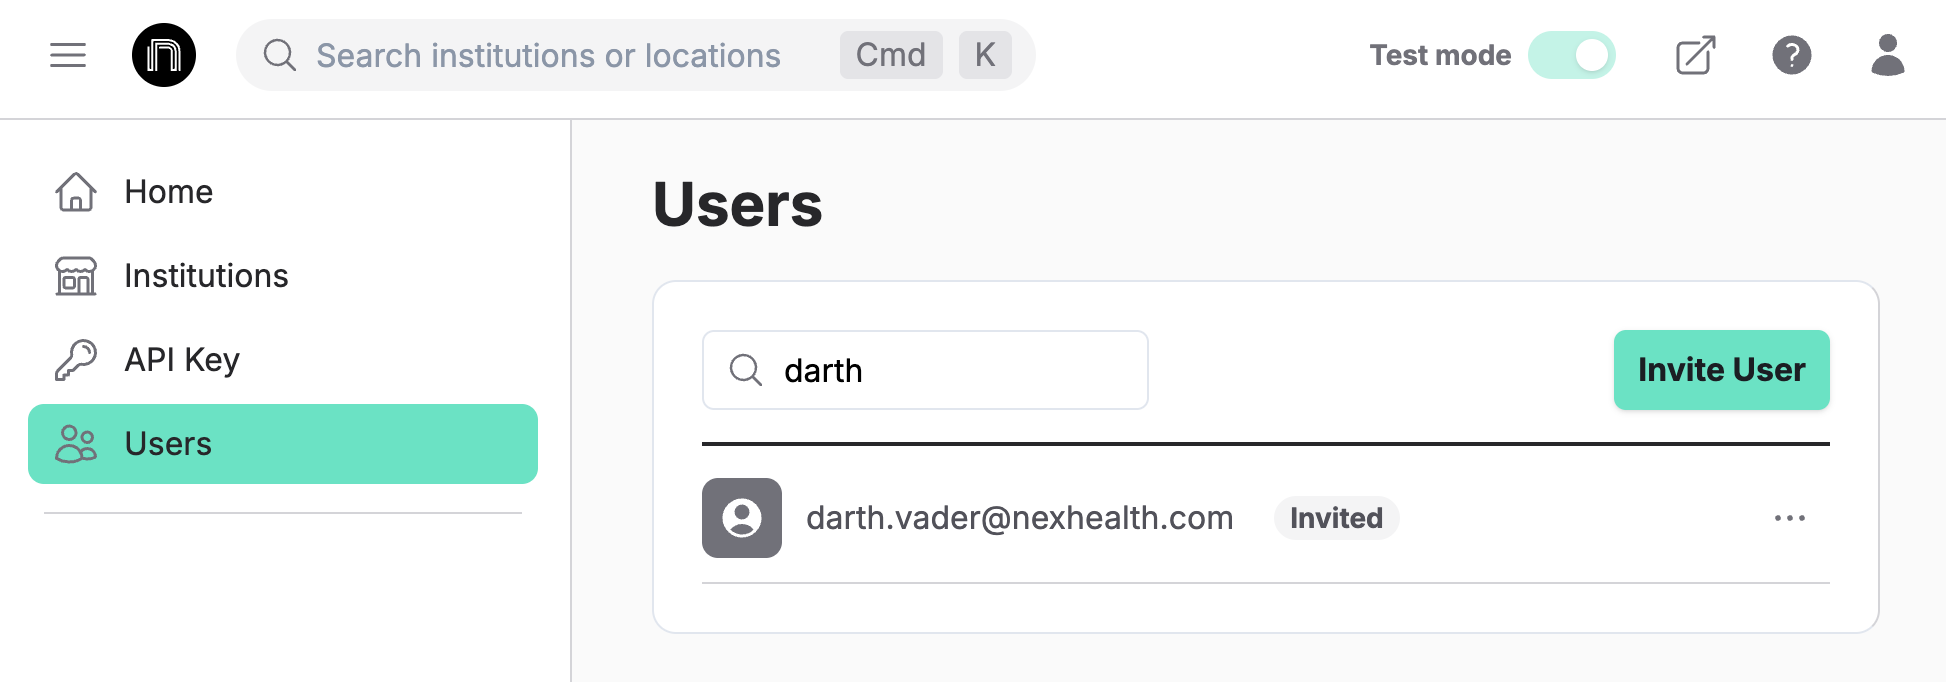
To invite new users, click the "Invite User" button in the top-right corner. Then enter the new user's email address and choose if you want them to be an administrator.
After clicking "Invite", you will see the user's email in the developer portal with the "Invited" status. The invited user will receive an email they can follow to create their account.
Making your First API Call
Now that you know your way around the developer portal, we can start making API calls! Let's start by getting a list of patients from our demo location.
First, let's find the endpoint we want to query in the NexHealth documentation. The specific endpoint we will be using is the /patients endpoint here: https://docs.nexhealth.com/v20240412/reference/getpatients.
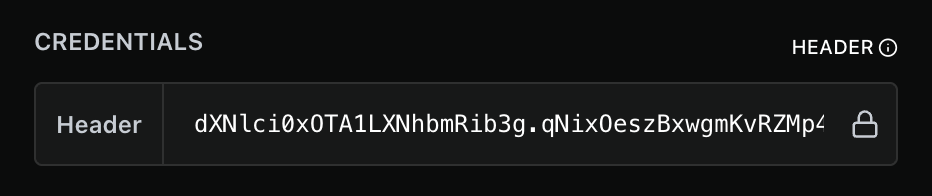
Now that we have that pulled up, the first thing we will need to do is enter our API key in the "Header" field near the top-right corner. Copy and paste your sandbox API key into this field.
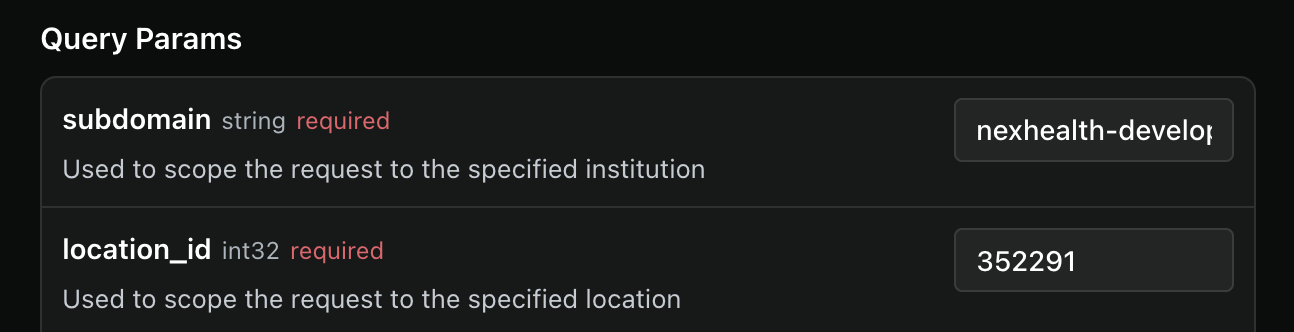
After entering our API key, scroll down the page to see that there are some required parameters for this endpoint (specifically subdomain and location_id. To obtain this information, go back to the Institutions page in another tab and click into the demo practice NexHealth provides. Here you will see the subdomain and location ID values we need to make the API call. Copy and paste them into the endpoint page.
After that information has been entered, we can already make our first API call! Click the "Try It!" button on the right-side of the page to send the request. In a few brief moments, you will see a new section appear with the API's response.
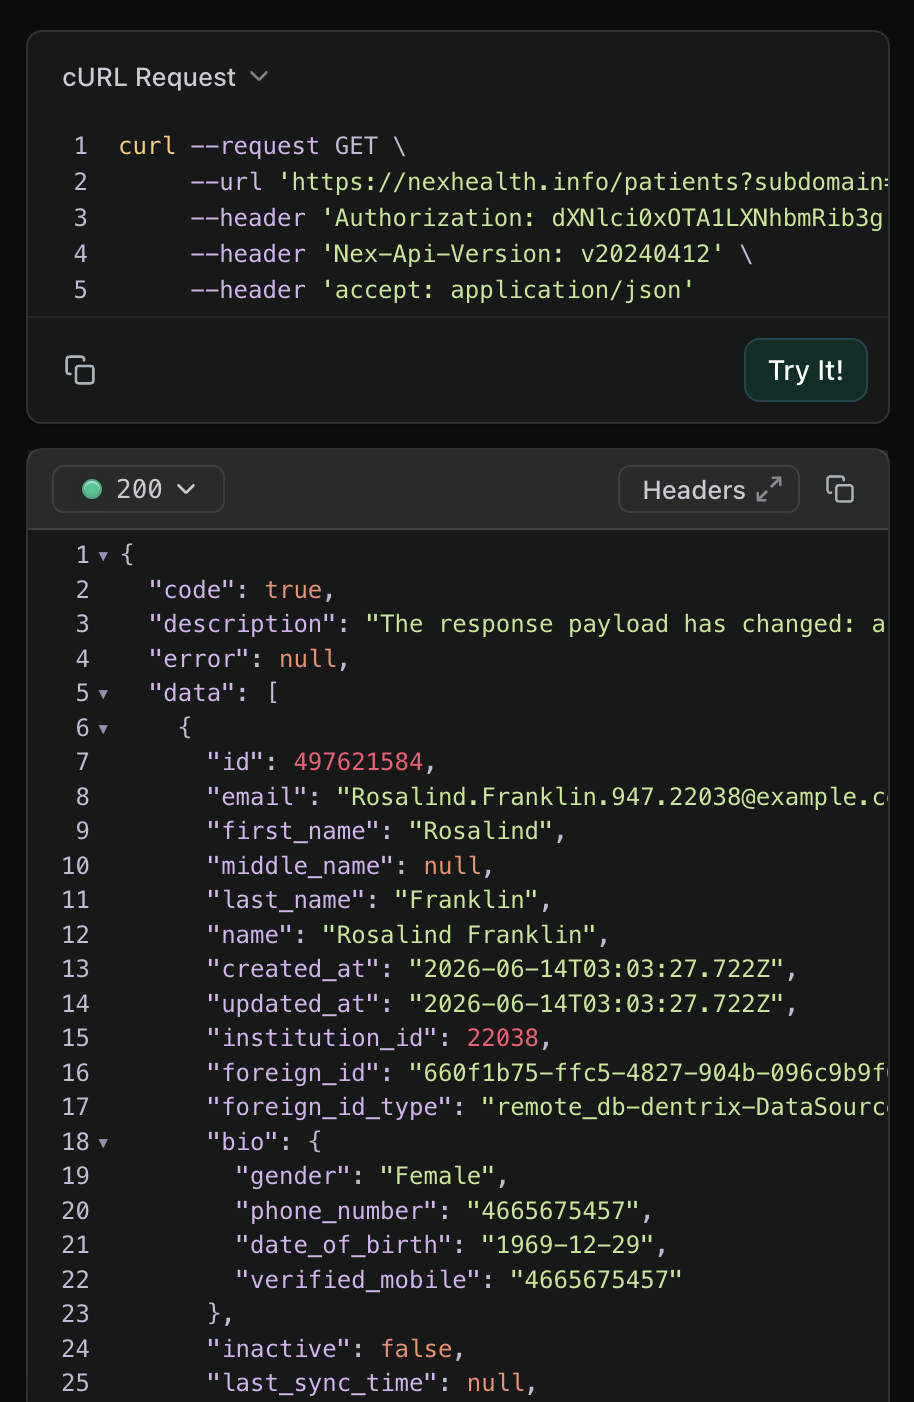
Congratulations! You have made your first API call through the NexHealth API! Looking at the response from the API, you can see that the code value is true and the error value is null. This means that the API call was successful. Under the data field, you will see a list of patients we were able to receive from the location.
From here, you can take this information and begin applying it to any of the endpoints NexHealth provides. The possibilities are endless in ways that you can combine or use NexHealth endpoints to provide a meaningful and impactful service to your customers.
What's Next?
From here, we recommend that you dive into some of the other features the NexHealth API has to offer. For example, you could visit our Scheduling Quickstart Guide to schedule your first appointment or our Payments Quickstart Guide to start paying off patient balances.
Updated 14 days ago