Setting up an Open Dental Sandbox Sync
The Electronic Health Record (EHR) system Open Dental has a free demo version available that you can use to simulate a real production EHR. With this, you can test the entire end-to-end process of connecting the Synchronizer to an existing location and reading and writing data to that location. This will get as close to production testing as possible while still using your sandbox API key.
Installing on MacOSOn-prem EHRs (locally hosted) like Open Dental only run on Windows machines. Because of this, installing a virtual machine (VM) with Windows may be required to set up an Open Dental server. Expand the section below for help with configuring a VM.
Setting up a Windows VM for Open Dental
There are several options to run Windows in a virtual machine. For this guide, we will use a software named Parallels.
- Download the installer for the trial version of Parallels
- Run the Parallels installer and click “Install Parallels Desktop”
- Once that has completed, run the Parallels Desktop application
- Walk through the Parallels setup process and give Parallels any required permissions
Once the Parallels setup process has been completed, you will see a Windows 11 version of your desktop environment.
It is inside this Windows environment that the Open Dental installation will be performed, and we are almost finished getting it set up.
Because it is a virtual environment, it is missing a dependency that you can expect real-world Windows instances to already have. Our synchronizer will need this dependency later on, so we will install it now:
- In the Parallels Windows environment, open Microsoft Edge and walk through any steps it requires to allow you to perform web searches
- Download the latest version of the Microsoft Visual C++ redistributable
- Run the downloaded installer and walk through each of its steps - you can click the "Close" button once it has completed
Now the Parallels Windows environment should be fully set up and good to go!
Install Open Dental
In a Windows environment, perform the following steps to install Open Dental:
-
In Open Dental's official documentation, find the "Installation to a Server" section and download the installer from step 1.
-
Run the installer
-
Give the installer any requested permissions
-
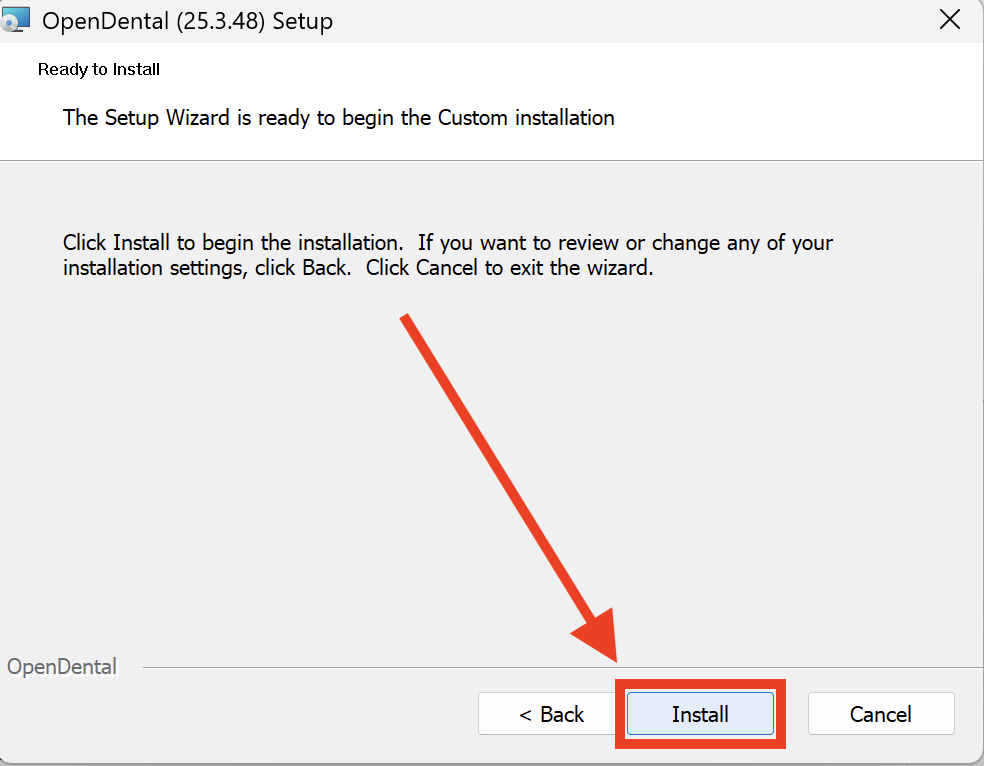
Once you get to the page below, disregard all of the configuration settings and click "Install"

-
On the popup, continue clicking “Next” through the setup wizard until you get to this page - then click “Install”
-
Once the installation is complete, click the “Finish” button
-
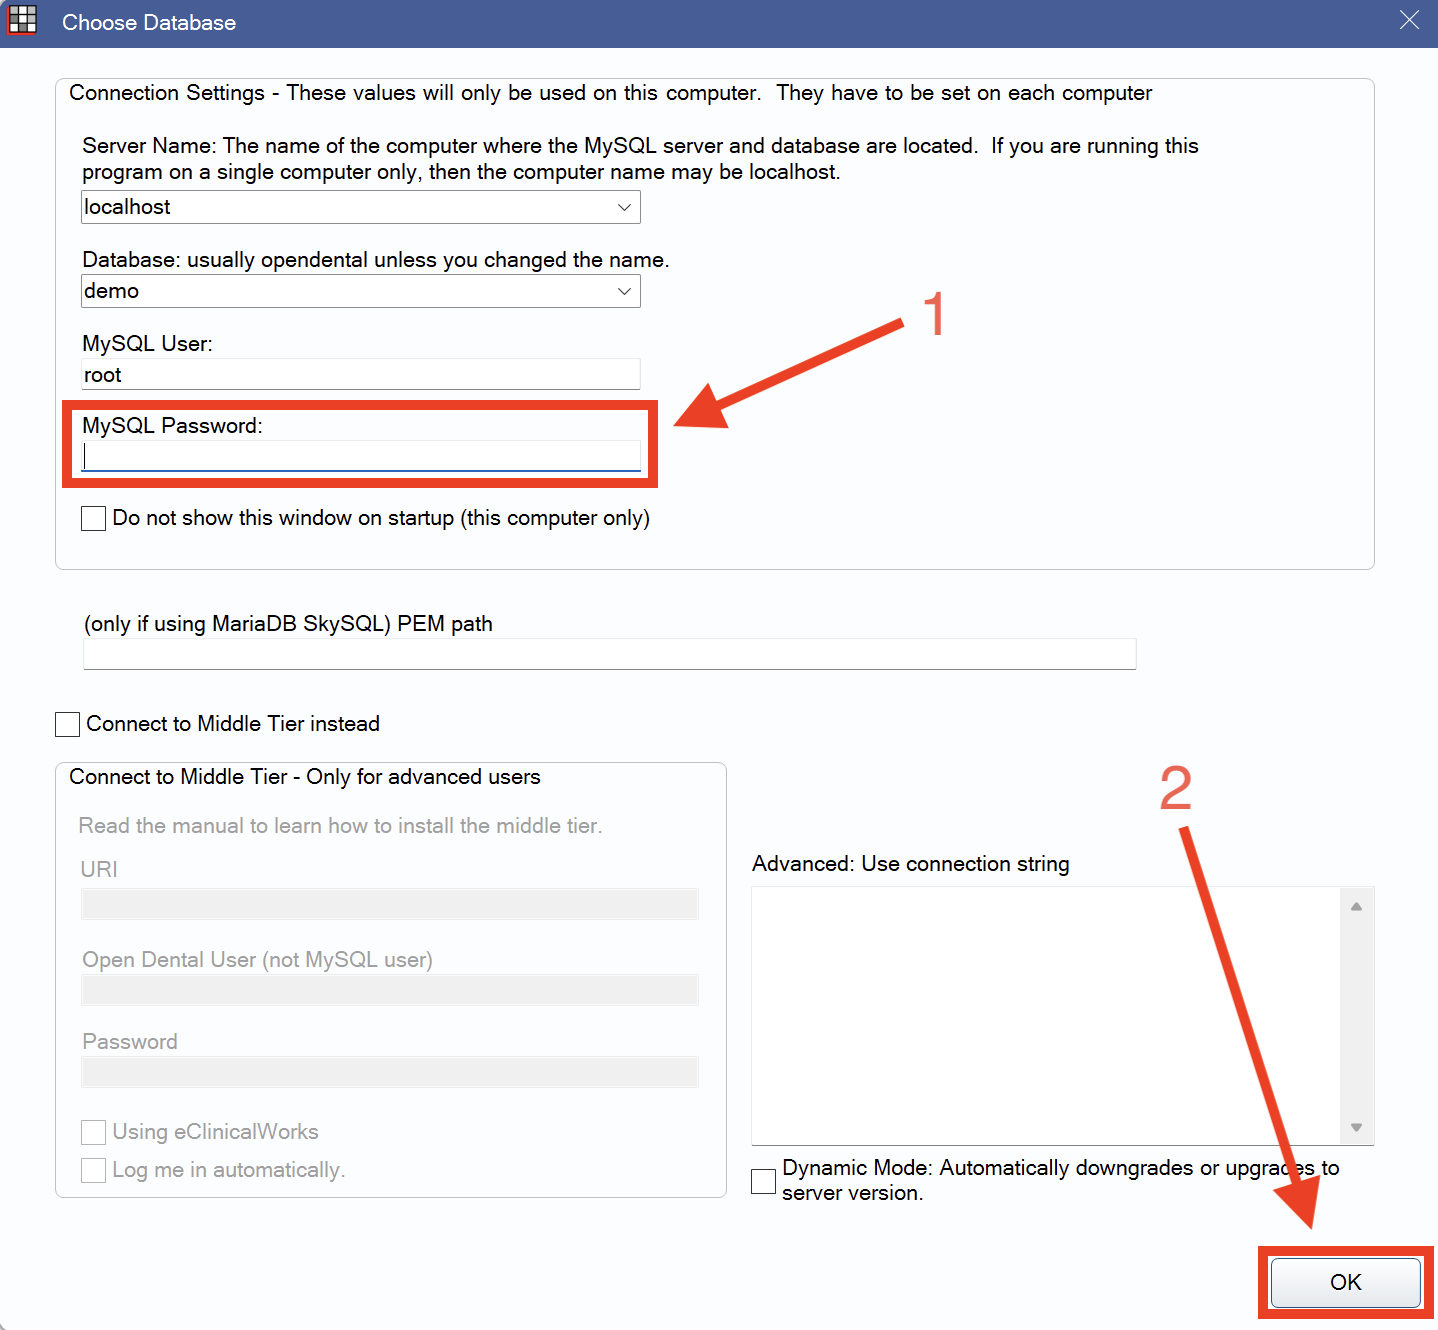
When the “MySQL Credentials” popup appears, enter a password of your choice and click “OK” (save the password as you will need it later)
-
Click “OK” again
-
Exit out of the original Open Dental installer window
-
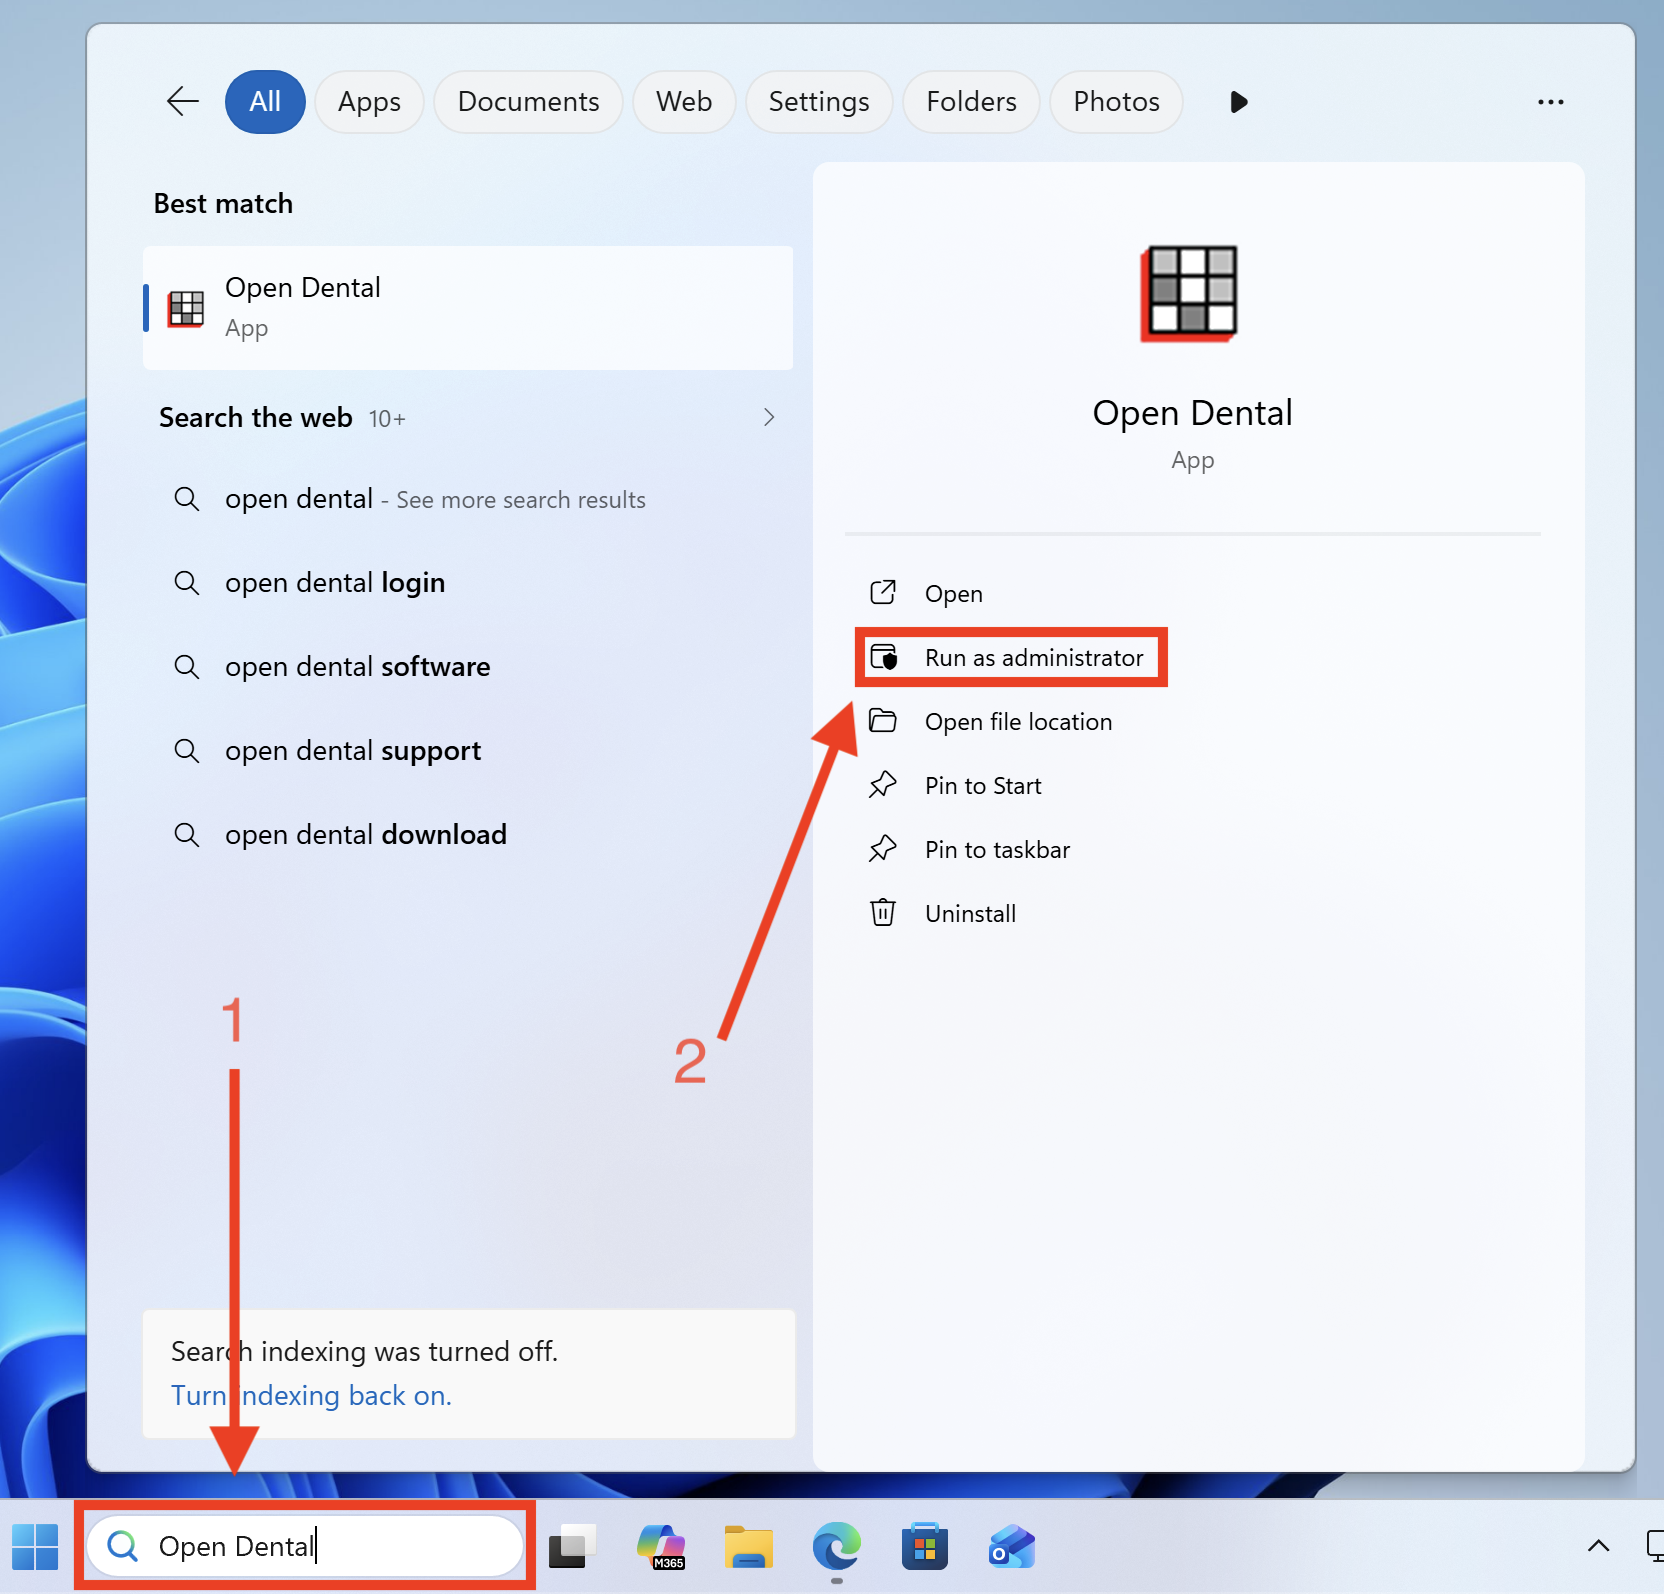
Search “Open Dental” in the Windows search bar, find the application, and click “Run as administrator”
-
Advance through any popups that appear until you are asked to enter a database password
-
Enter the database password you created earlier and click “OK”
Once complete, you will have a fully operational Open Dental demo instance that reflects what a real practice would be using.
Install the NexHealth Synchronizer
Now that Open Dental is installed and configured, we will setup the NexHealth Synchronizer to connect to it through the API.
Create a New Sync
-
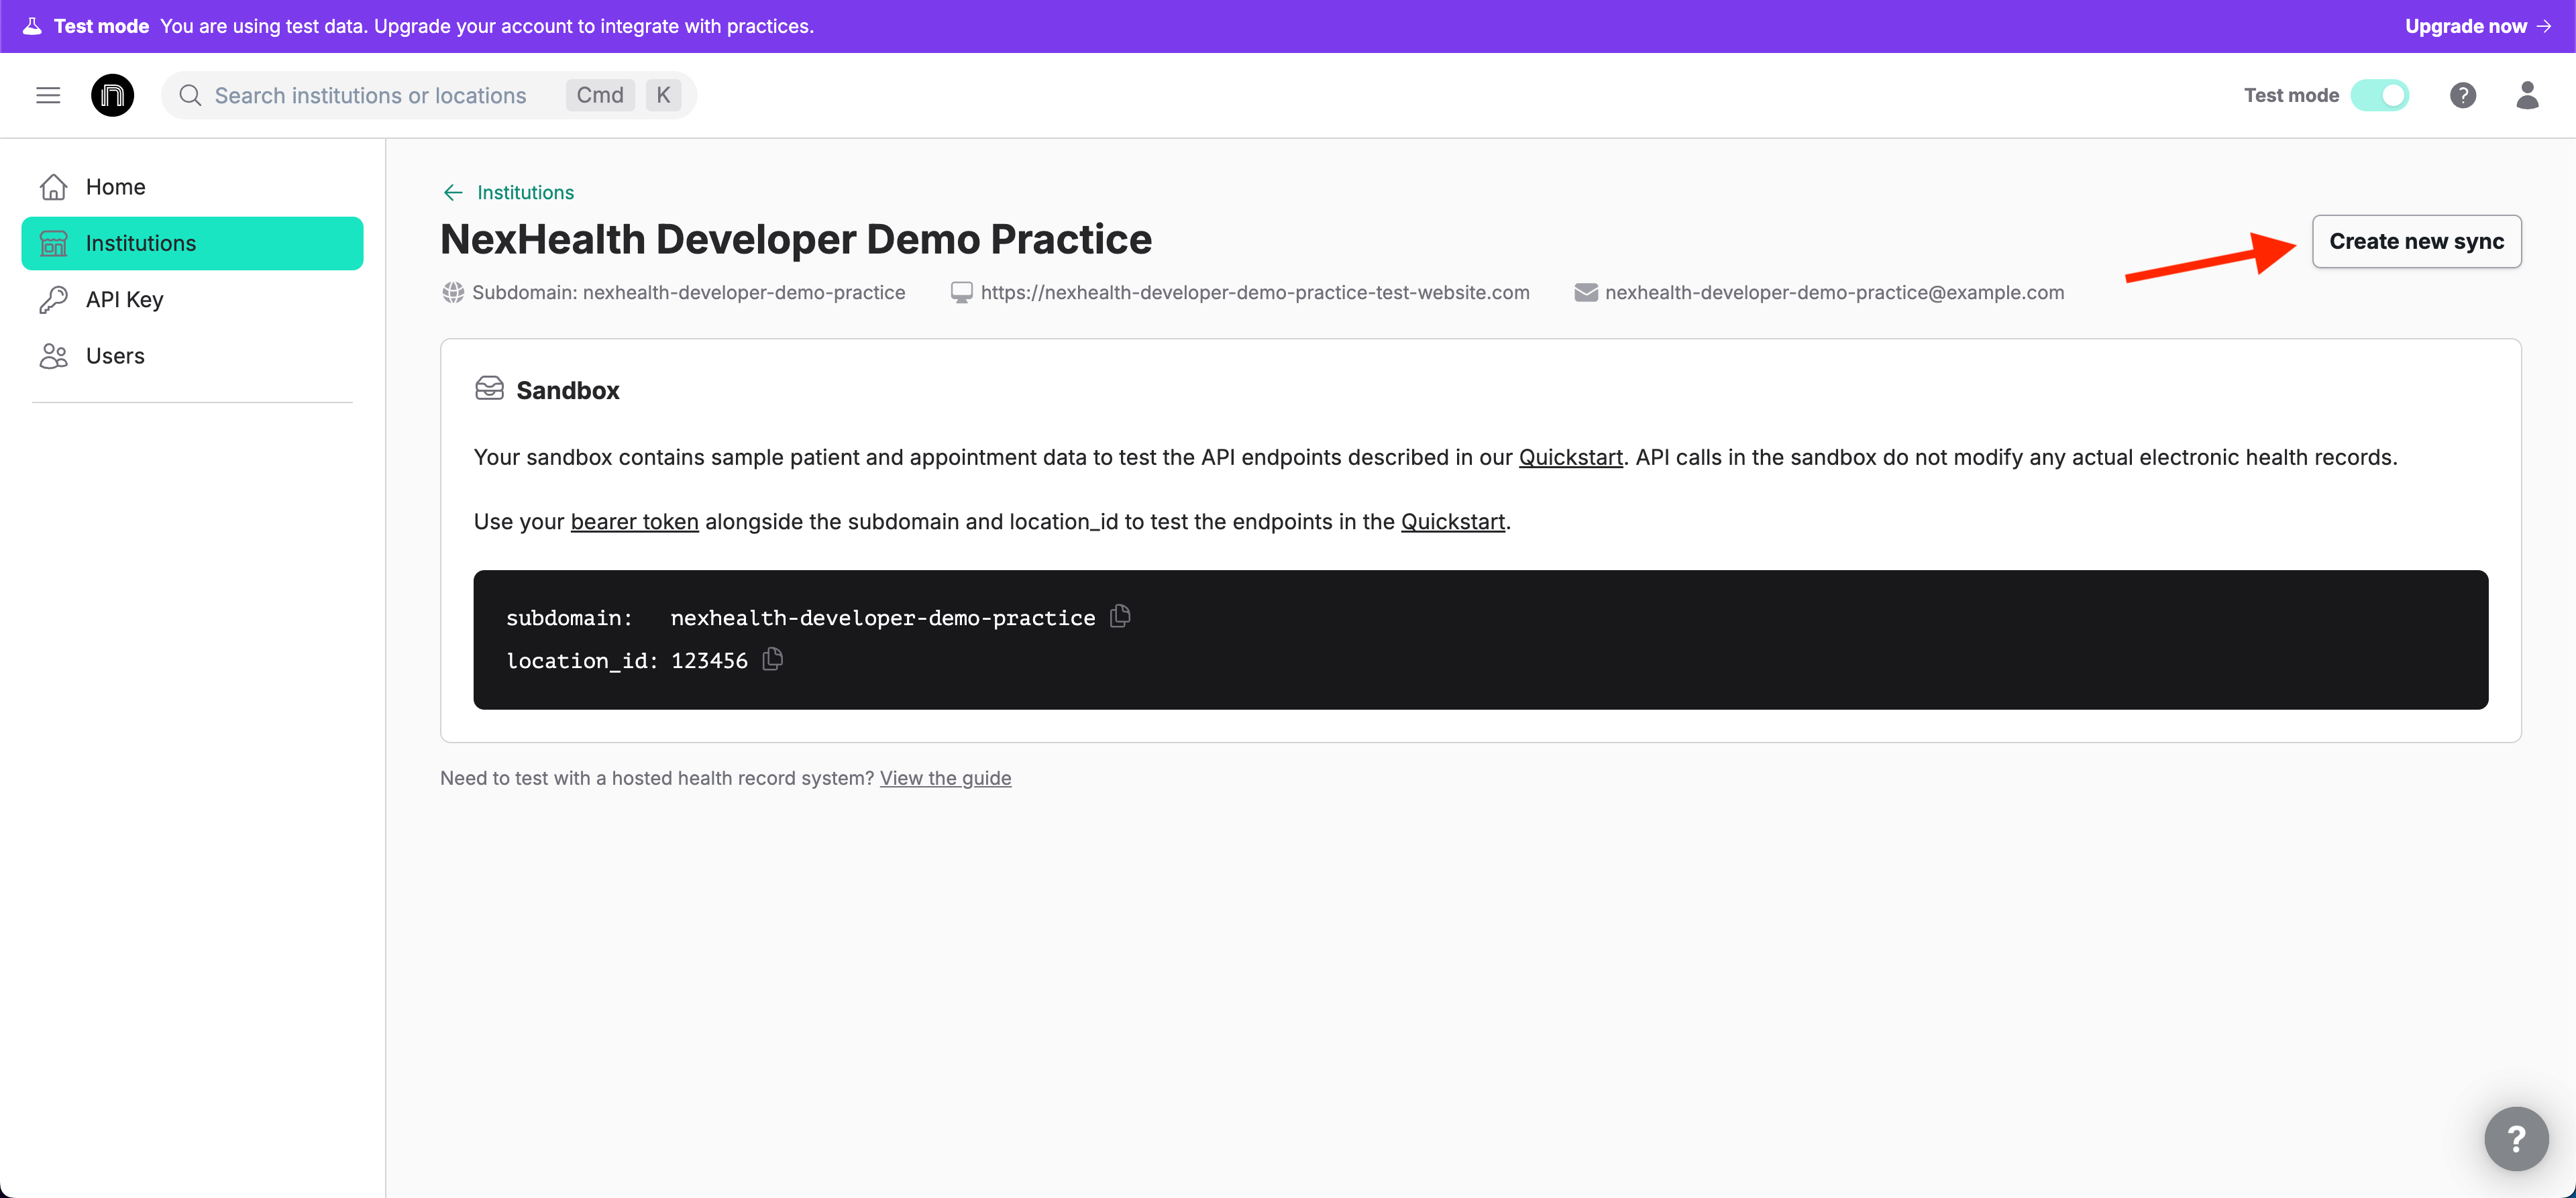
In the developer portal, find your sandbox institution and click into it (the name of it will be the company name you chose when signing up with "Demo Practice" appended to the end)

-
In the top-right corner, click the "Create new sync" button (this is used for establishing a connection with a practice that does not currently have one)
-
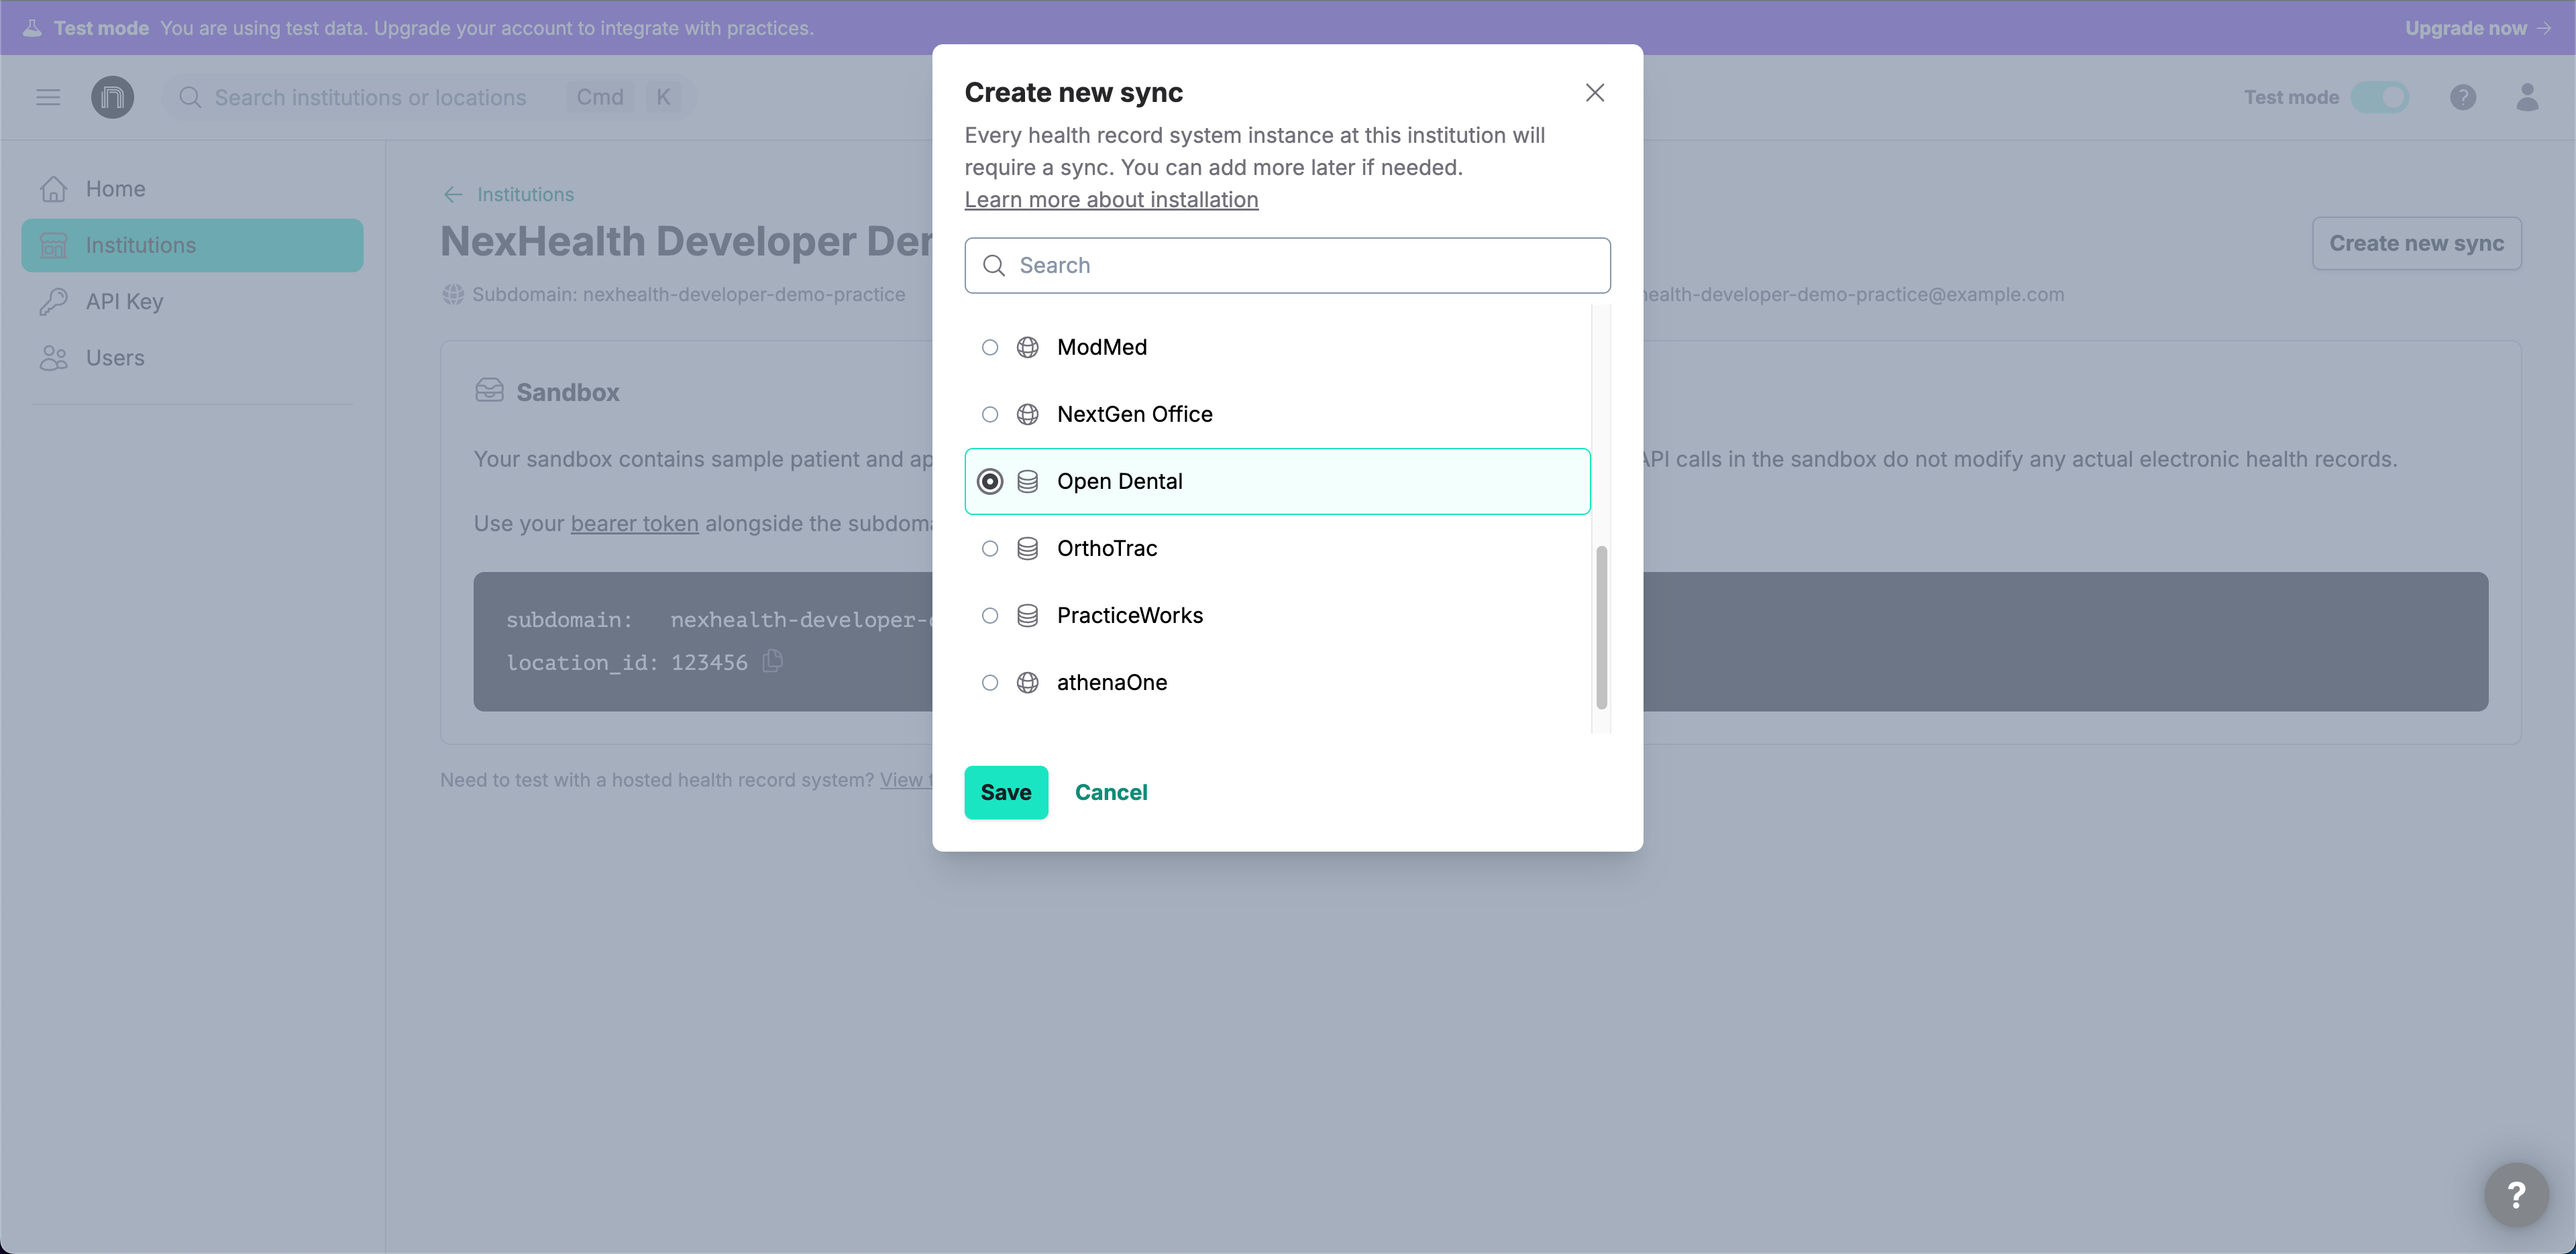
A list of available EHR integrations will appear - select "Open Dental" and click "Save"
-
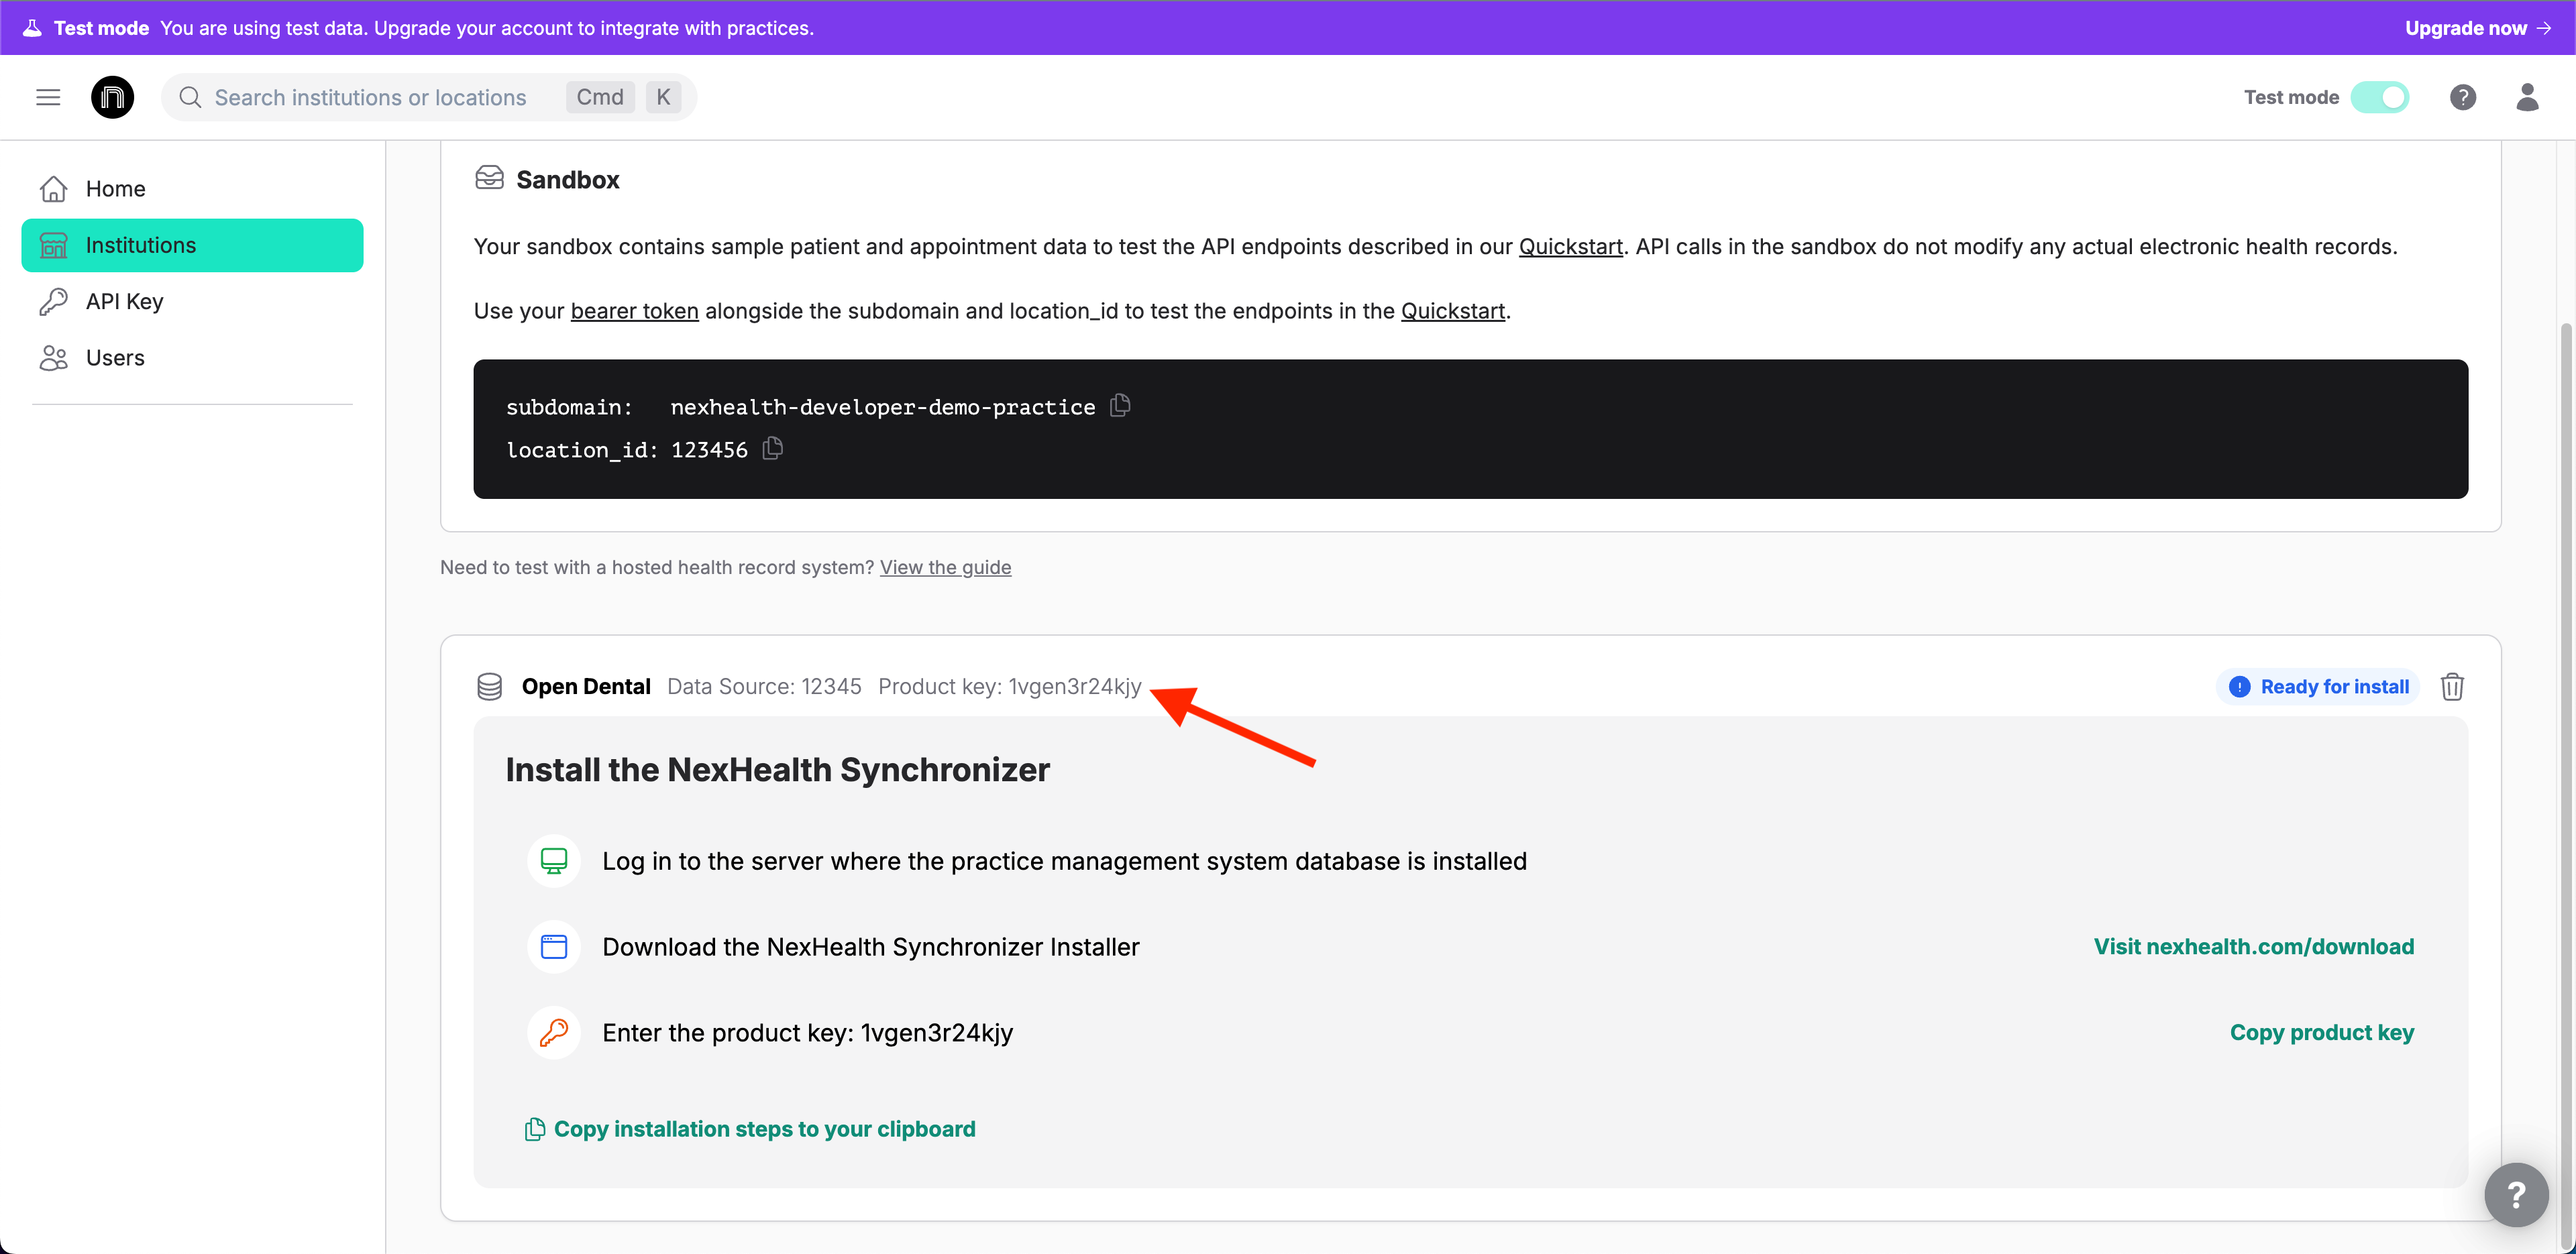
Underneath your sandbox location you will now see a new sync has been created for Open Dental and a product key has been created - note down this product key as it will be needed on a subsequent step (you can click on the product key itself or click the "Copy product key" button to copy it)
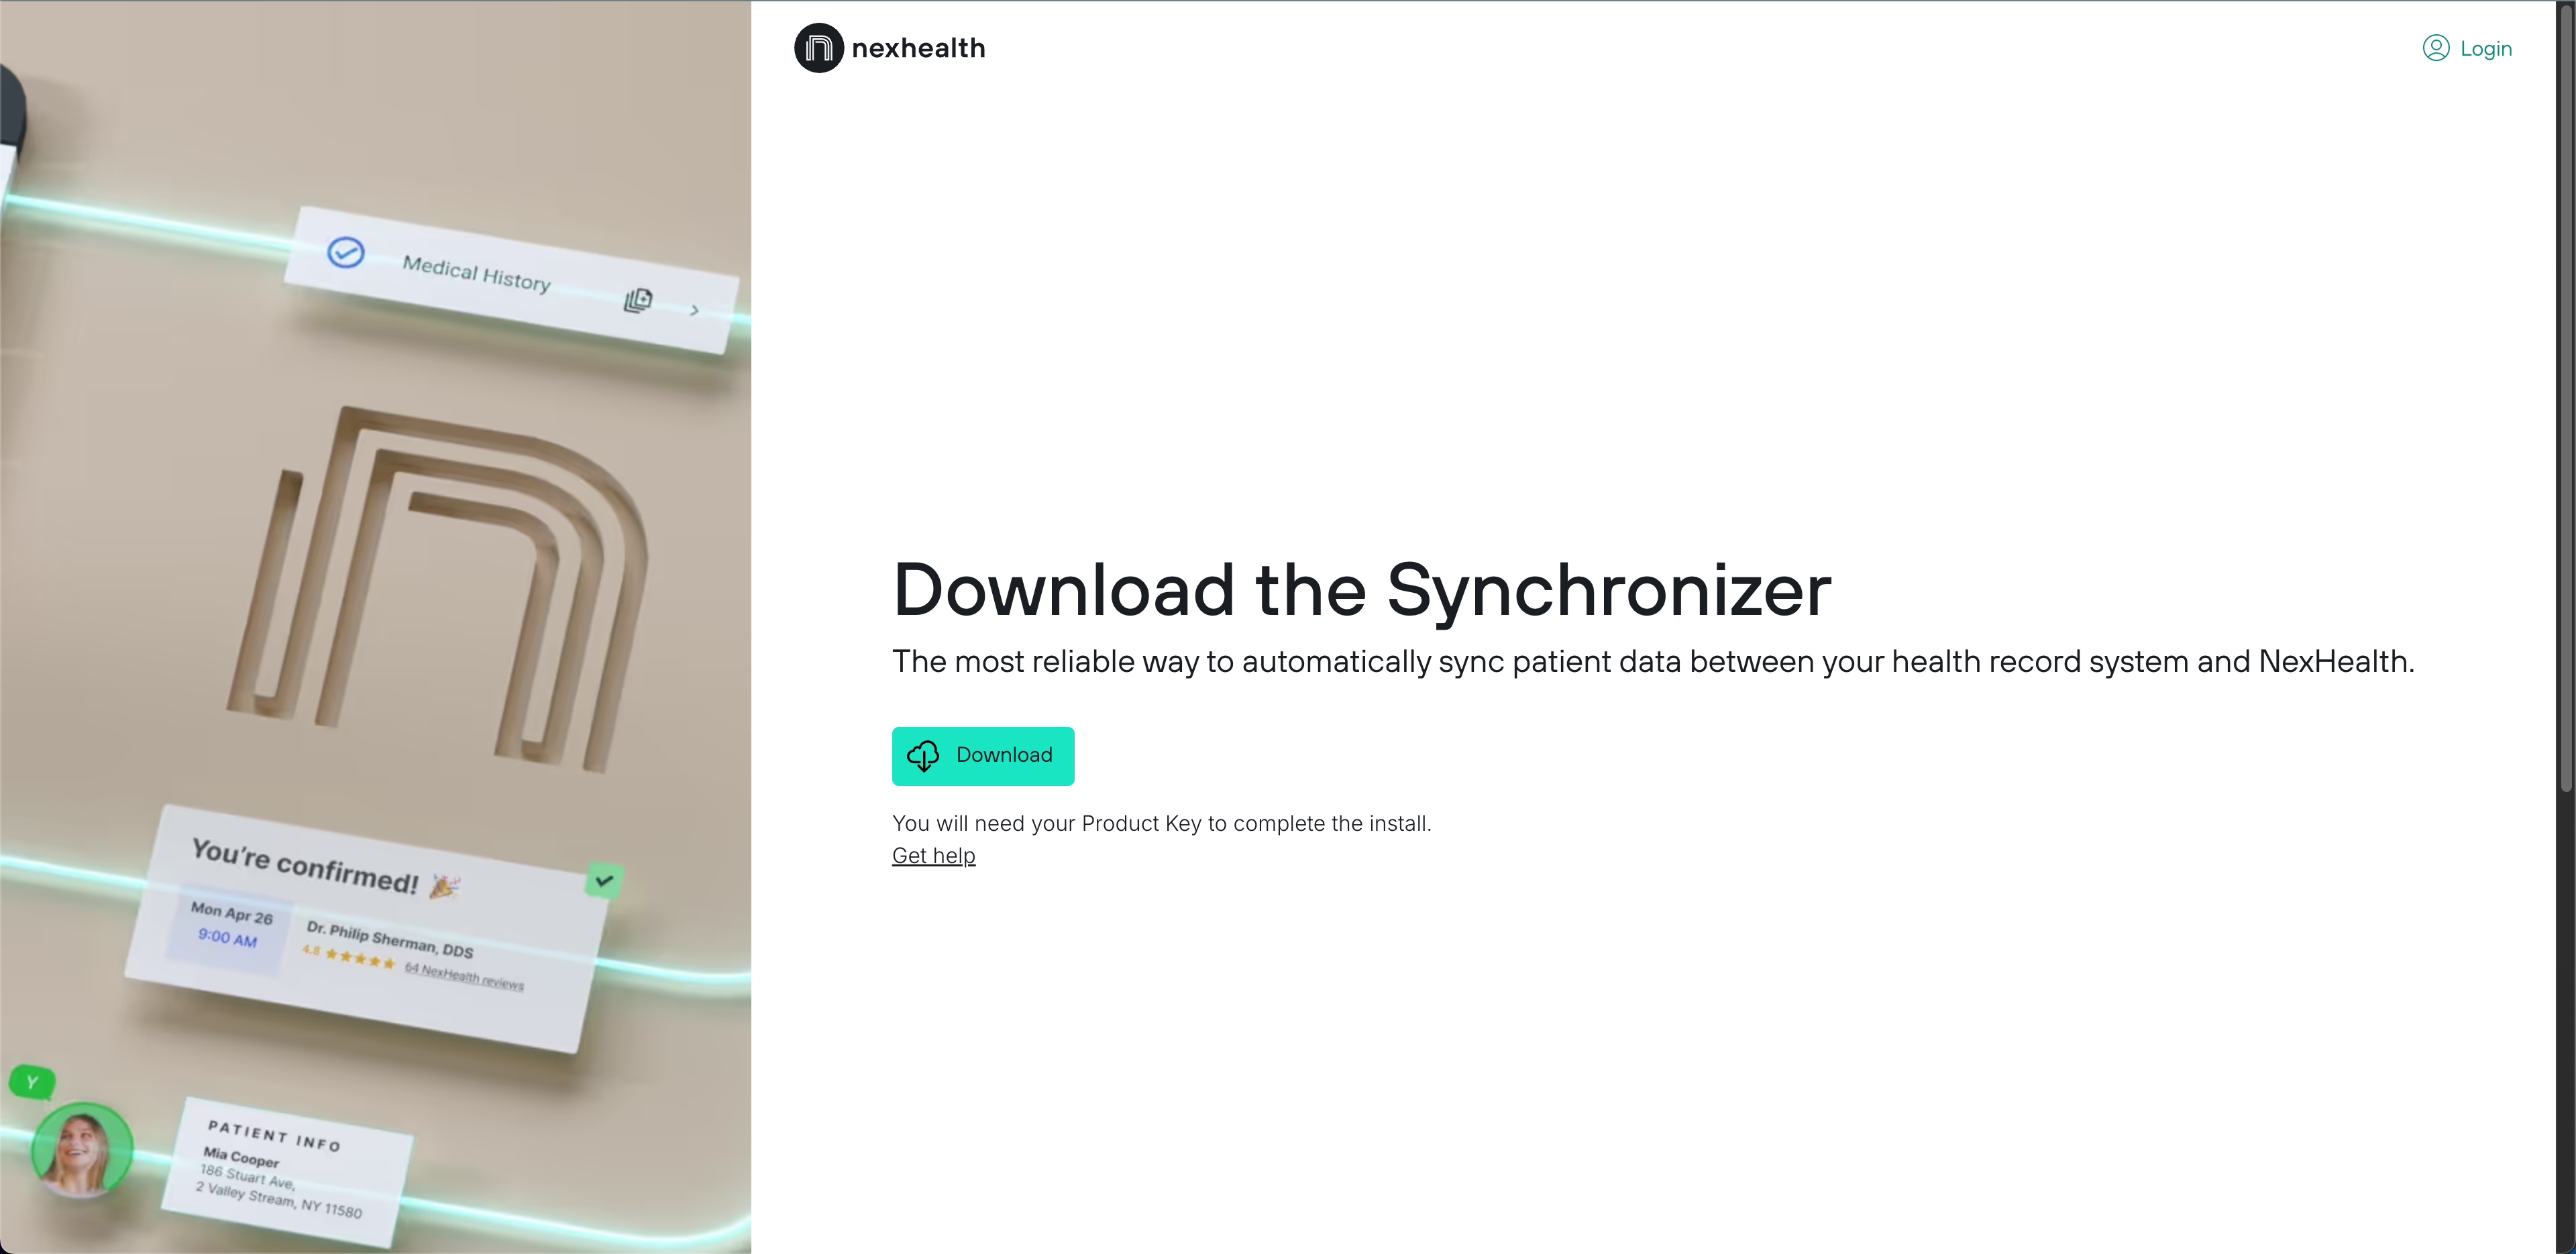
Download and Run the Self-Installer
-
On the same machine that you installed Open Dental, visit https://www.nexhealth.com/download and click "Download" to download the latest version of the NexHealth Synchronizer self-installer
-
Locate the
NexHealth Synchonizer.exefile we downloaded and run it (we recommend running it as an administrator to ensure that the installer has all required permissions) -
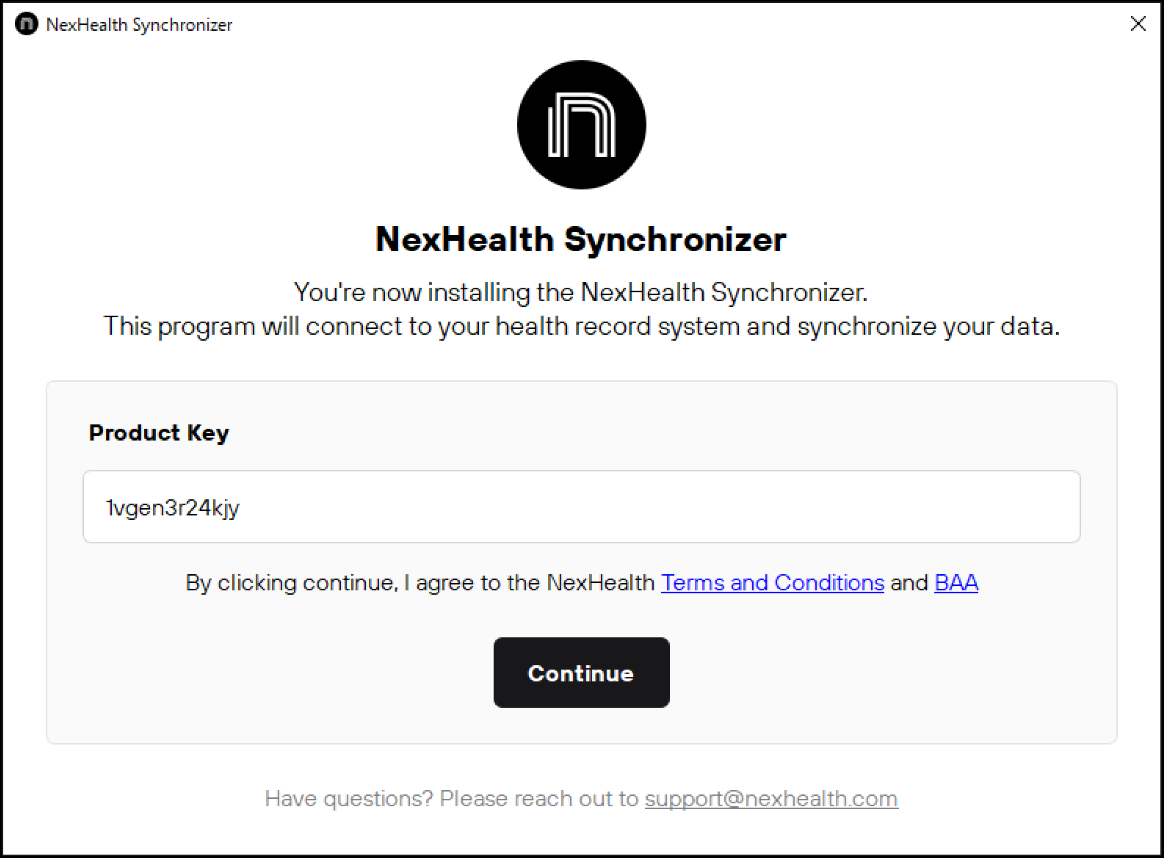
When the self-installer opens, a window will appear asking you to enter a product key - enter the product key you obtained from the developer portal after creating the new sync and click "Continue"
-
From here, the self installer will begin installing the Synchronizer on the server computer - this process may take around 10-30 minutes
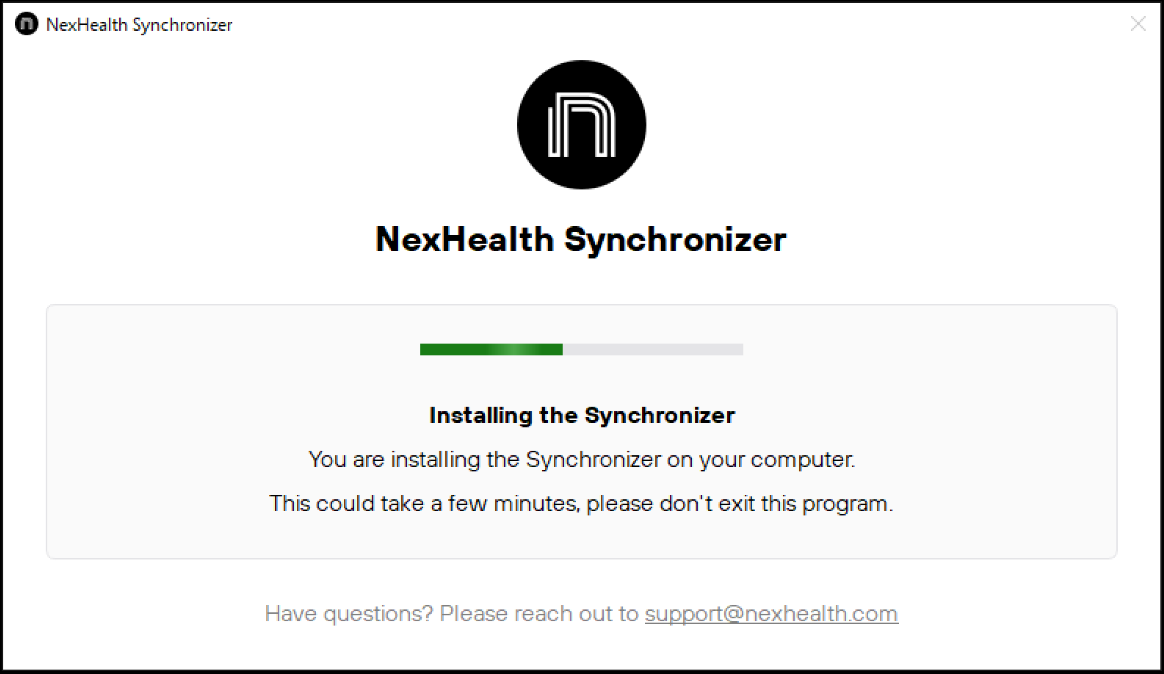
After a few minutes of installing, the window will state that the Synchronizer has been installed and that it is now reading their historical data. It is safe to close the window when this message appears. However, we recommend continuing to wait until a button stating "Close window" appears.
-
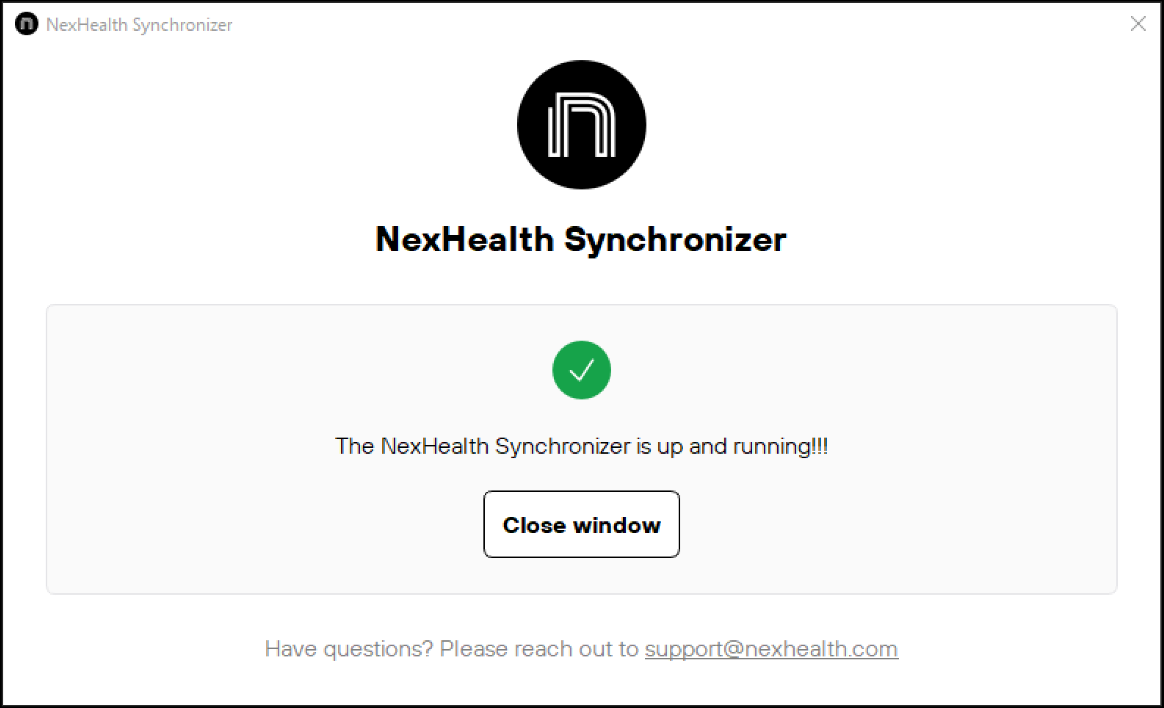
Once the installation has been completed, you will see a message stating that the Synchronizer is up and running and a button will appear that says "Close window" - you can close the self-installer at this point
After the installation has completed, you will be able to access your Open Dental EHR through the API! After refreshing the developer portal, you will see that the location now has an ID and shows more information as well as the status of the sync.

Updated 13 days ago